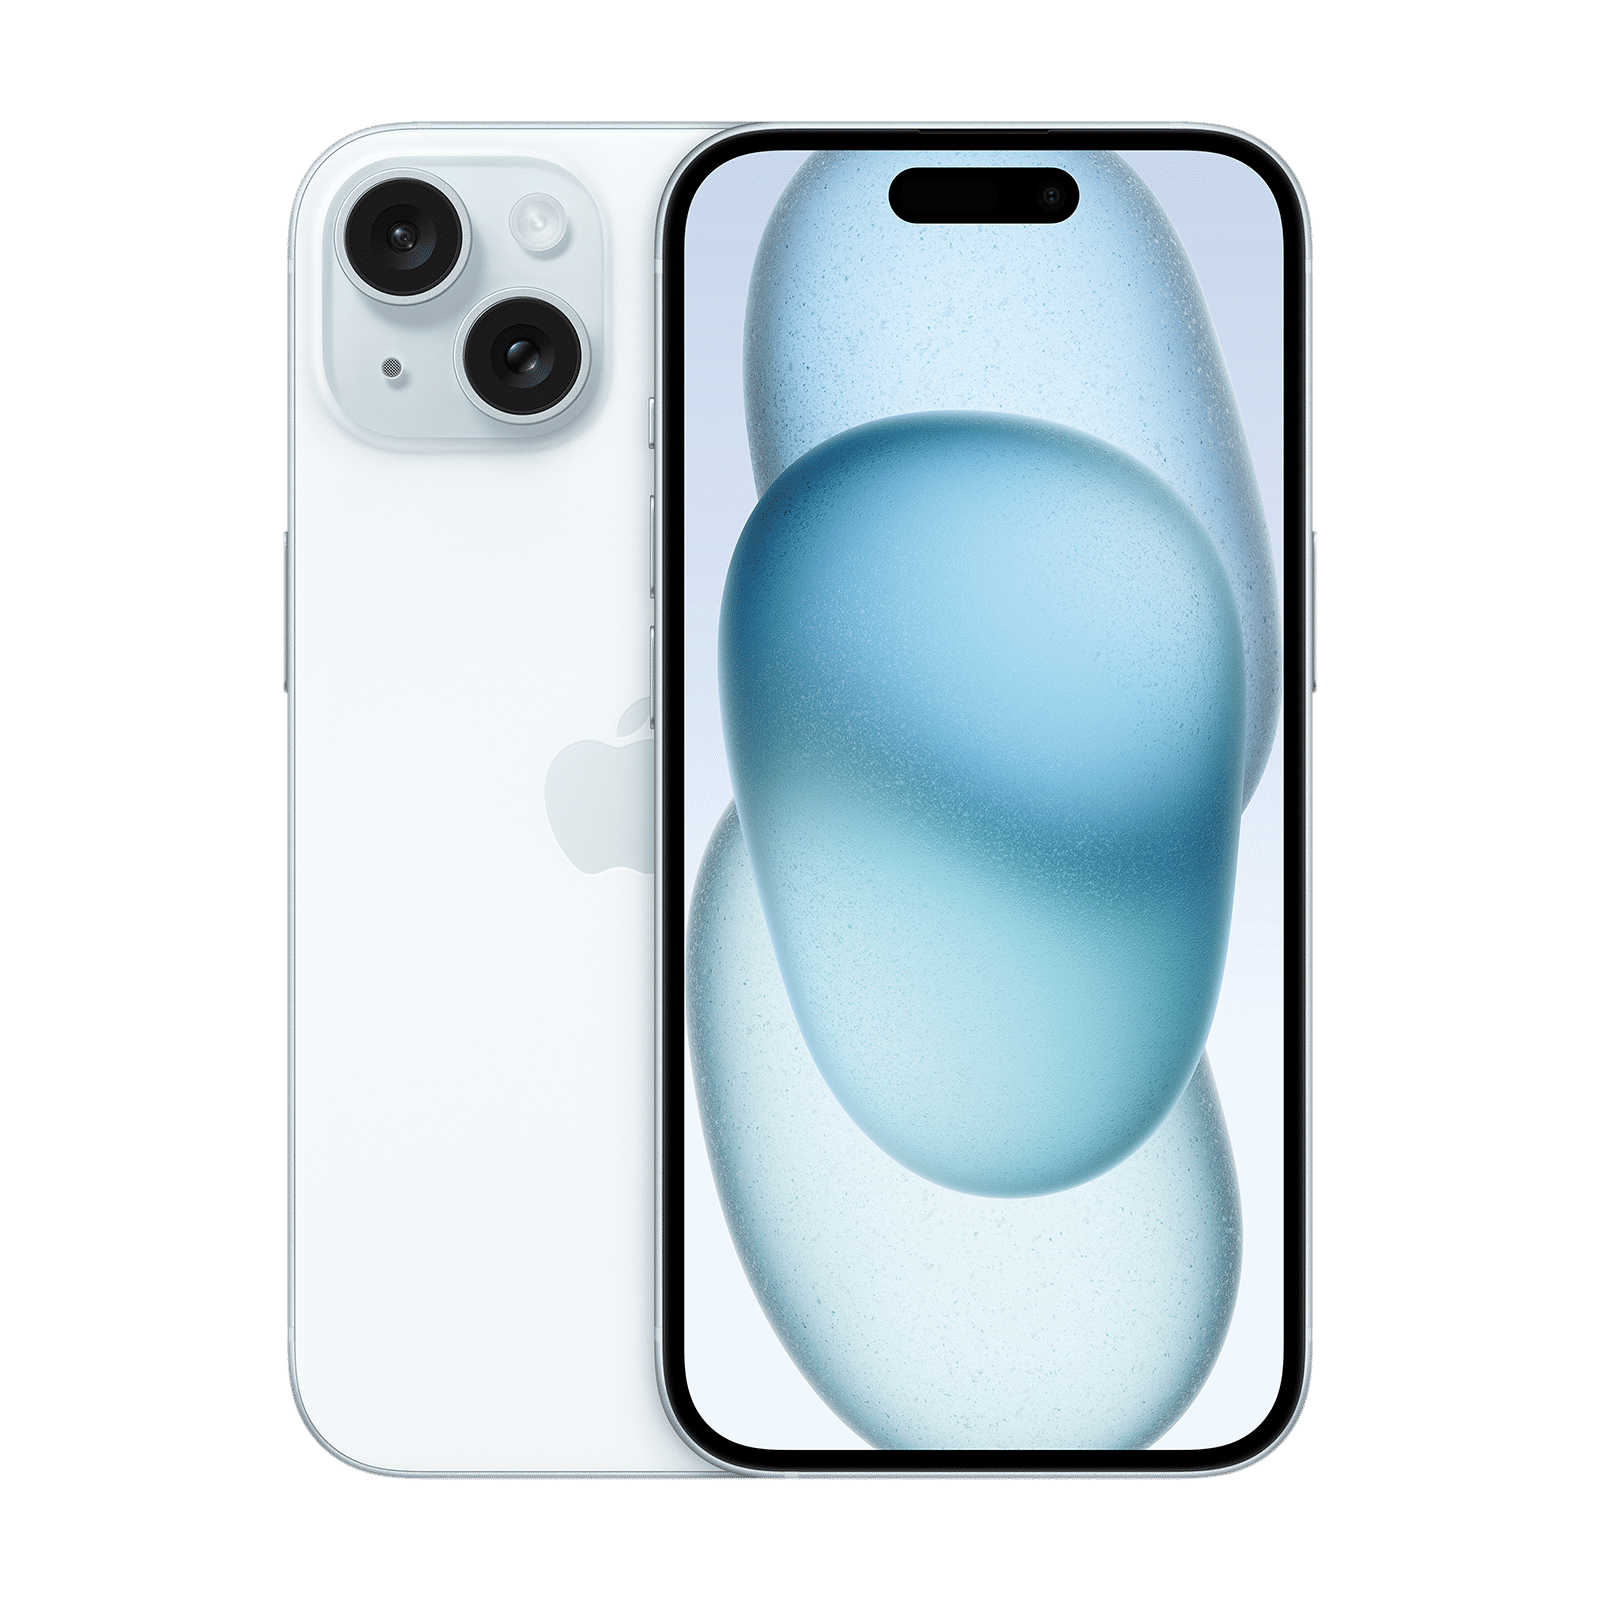
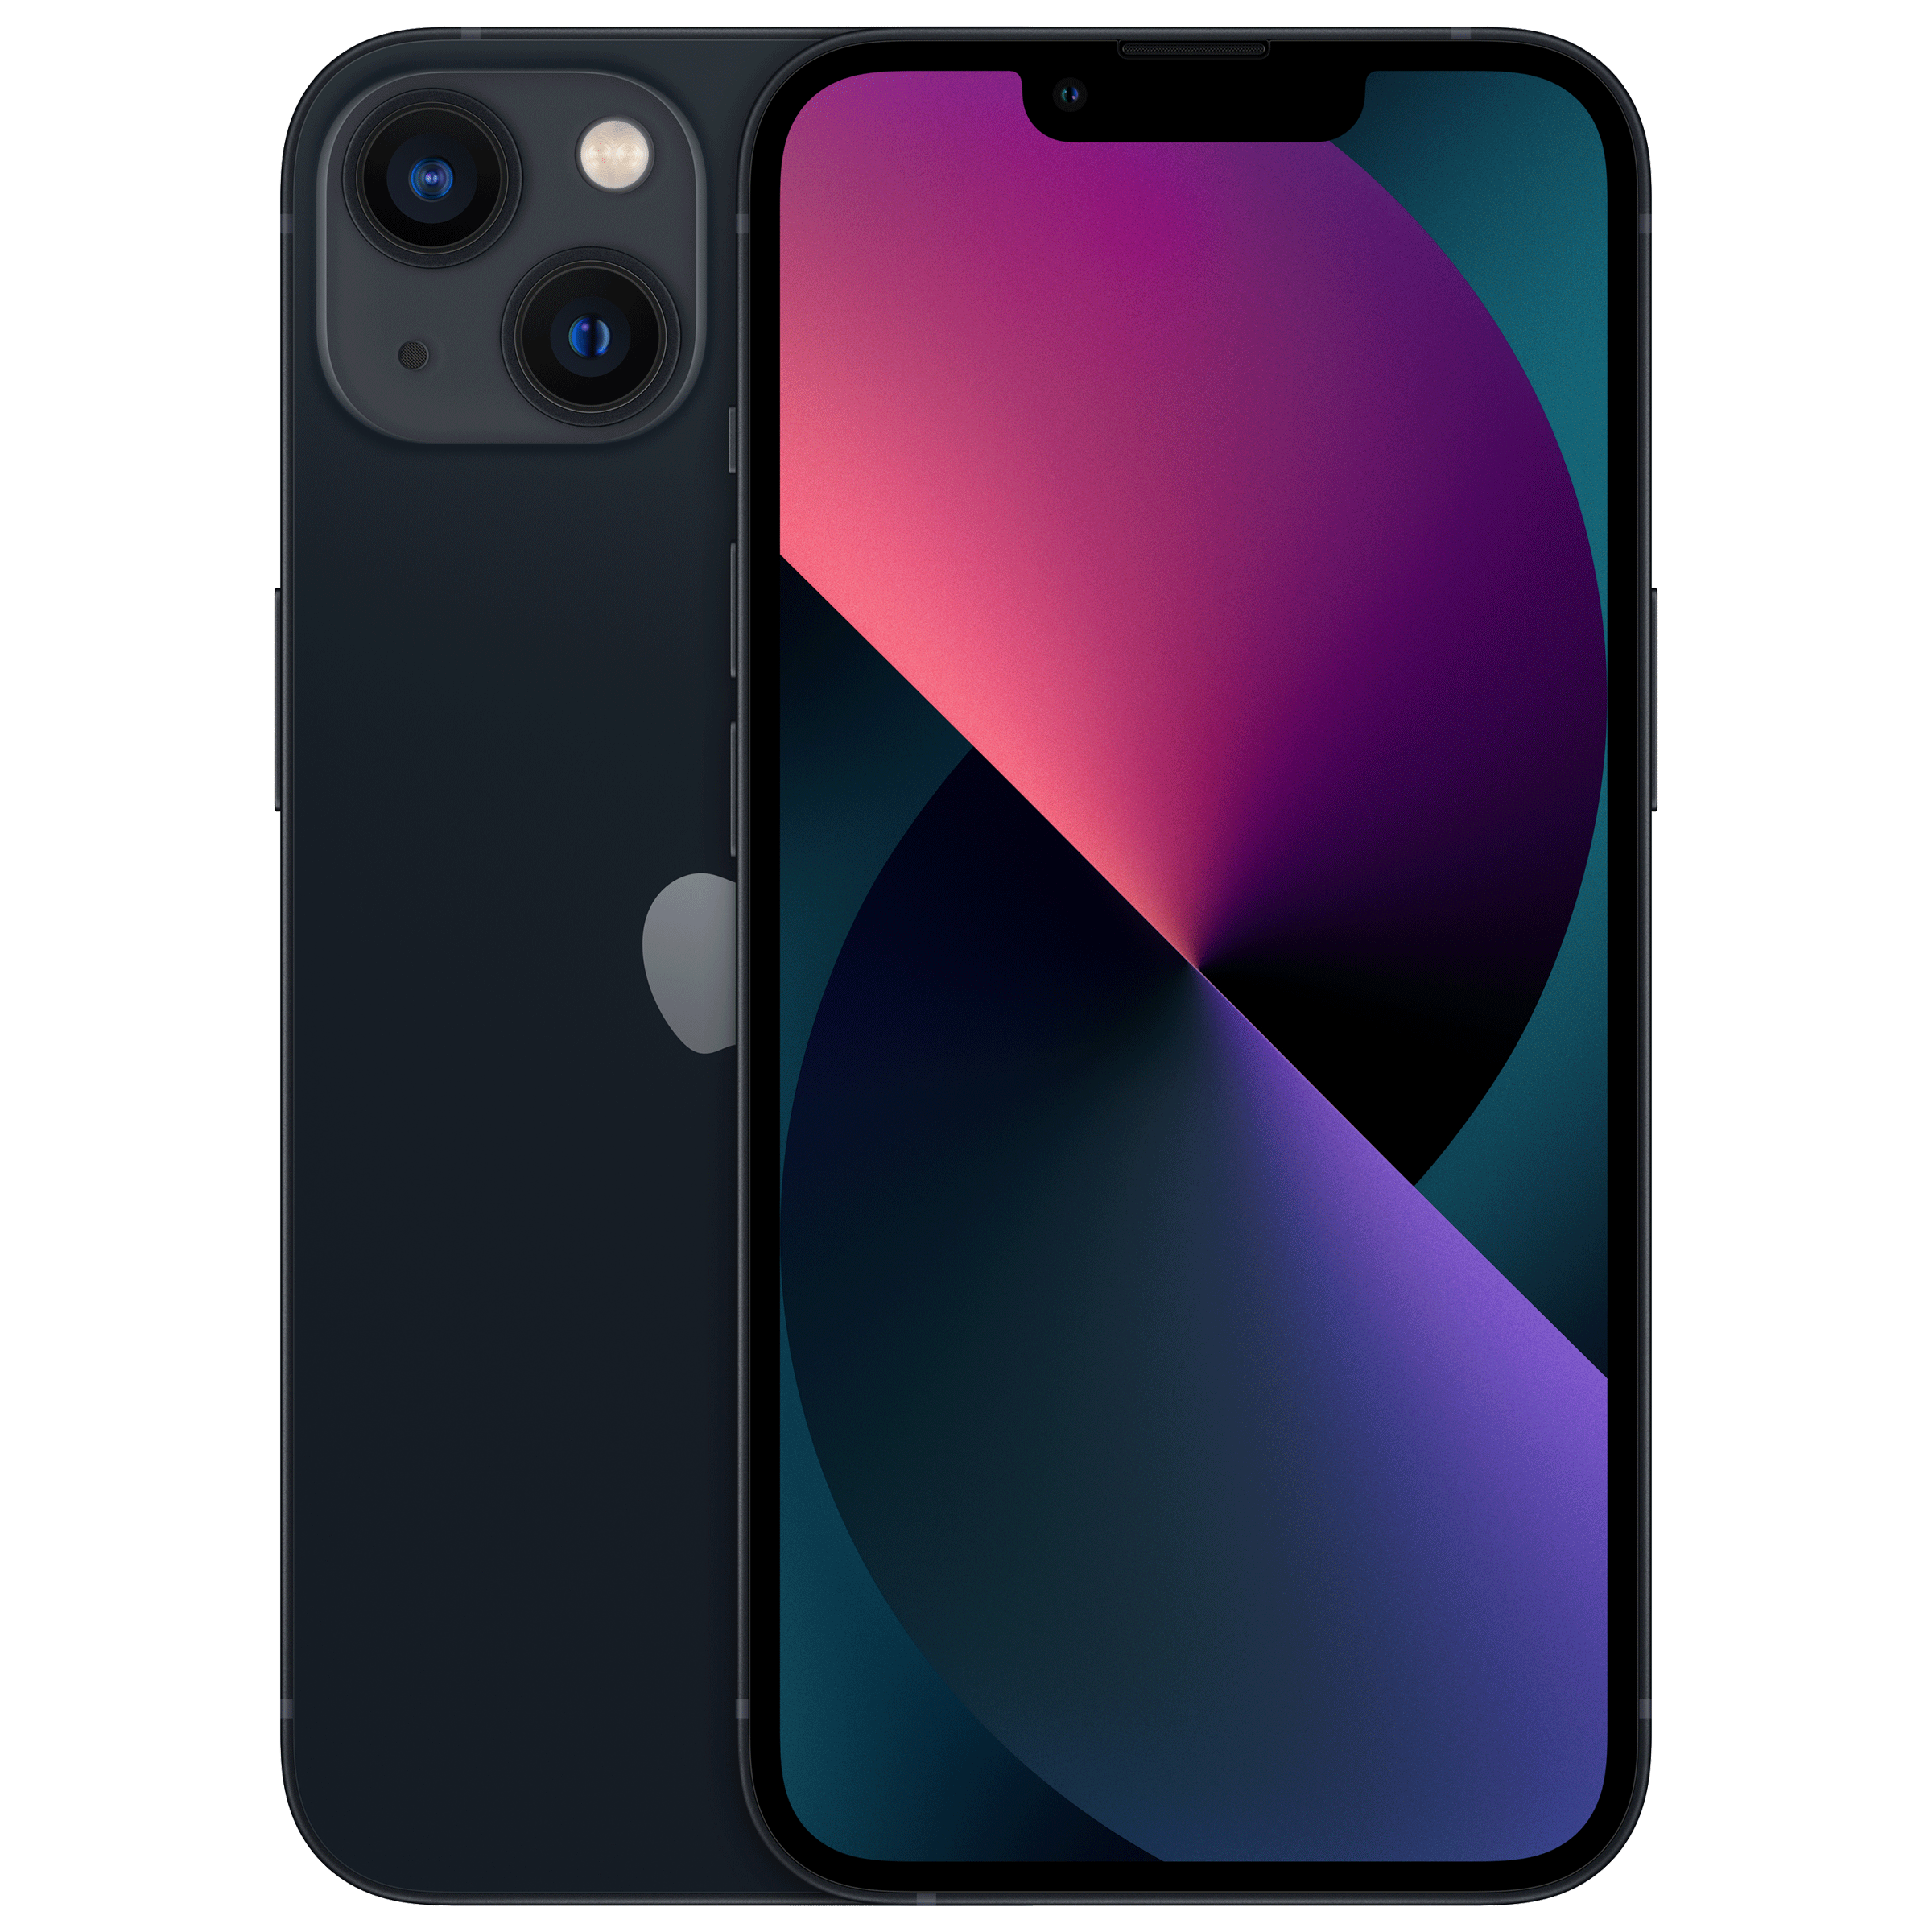
Physical SIM cards are gradually becoming a thing of the past. An eSIM, or embedded SIM, is the new digital standard that offers a seamless and convenient way to connect your iPhones to a cellular network. If you are looking to embrace this futuristic technology, here’s a comprehensive guide on how to set up an eSIM on your iPhone.
Understanding eSIMs
Before diving into the setup process, let’s understand what an eSIM is. Unlike traditional SIM cards, which are physical cards that need to be inserted into your phone, an eSIM is a small chip embedded within your iPhone.
It stores your network information digitally, eliminating the need for a physical card. This allows you to switch between carriers or plans without having to physically swap SIM cards.
Compatibility check
The first step is to ensure that your iPhone is compatible with eSIM technology. In India, most major carriers like Airtel, Jio, and Vi offer eSIM support. However, it is essential to check if your specific iPhone model supports eSIMs, Generally, iPhone XS and newer models are eSIM compatible.
ALSO READ: What are eSIMs? Here’s everything you need to know
You can verify this by going to Settings > General > About and looking for the “Digital SIM” or “eSIM” information.
Carrier support
Once you’ve confirmed compatibility, the next step is to check if your carrier supports eSIM. Most carriers in India have dedicated webpages or customer support channels where you can find information about eSIM availability and activation process. It’s advisable to contact your carrier directly to ensure a smooth setup experience.
Activation process
The activation process may vary slightly depending on your carrier. However, the general steps involve:
1. Contact your carrier: Reach out to your carrier’s customer support or visit their website to initiate the eSIM activation process.
2. Provide necessary information: You’ll likely need to provide your iPhone’s IMEI number and other identification details to your carrier.
ALSO READ: eSIM vs physical SIM: Making the right choice for your device
3. Receive a QR code: Your carrier will provide you with a QR code, either through email or SMS. This QR code contains the necessary network information to activate your eSIM.
4. Scan the QR code: Open your iPhone’s camera app and scan the QR code. Your iPhone will detect the eSIM information and prompt you to add the cellular plan.
5. Follow the on-screen instructions: Your iPhone will guide you through the remaining steps to complete the eSIM activation process.
Managing multiple eSIMs
One of the significant advantages of eSIM is the ability to have multiple eSIM profiles on your iPhone. This allows you to seamlessly switch between different carriers or plans based on your needs. You can manage your eSIM profiles by going to Settings > Cellular and selecting the desired eSIM profile.
An eSIM is revolutionising the way we connect our devices to cellular networks. Its convenience, flexibility, and environmental benefits make it a compelling choice for iPhone users in India. By following this guide, you can effortlessly set up eSIM on your iPhone and experience the future of connectivity.
Unleash your inner geek with Croma Unboxed
Subscribe now to stay ahead with the latest articles and updates
You are almost there
Enter your details to subscribe

Happiness unboxed!
Thank you for subscribing to our blog.
Disclaimer: This post as well as the layout and design on this website are protected under Indian intellectual property laws, including the Copyright Act, 1957 and the Trade Marks Act, 1999 and is the property of Infiniti Retail Limited (Croma). Using, copying (in full or in part), adapting or altering this post or any other material from Croma’s website is expressly prohibited without prior written permission from Croma. For permission to use the content on the Croma’s website, please connect on contactunboxed@croma.com
- Related articles
- Popular articles


Anvinraj Valiyathara
Comments