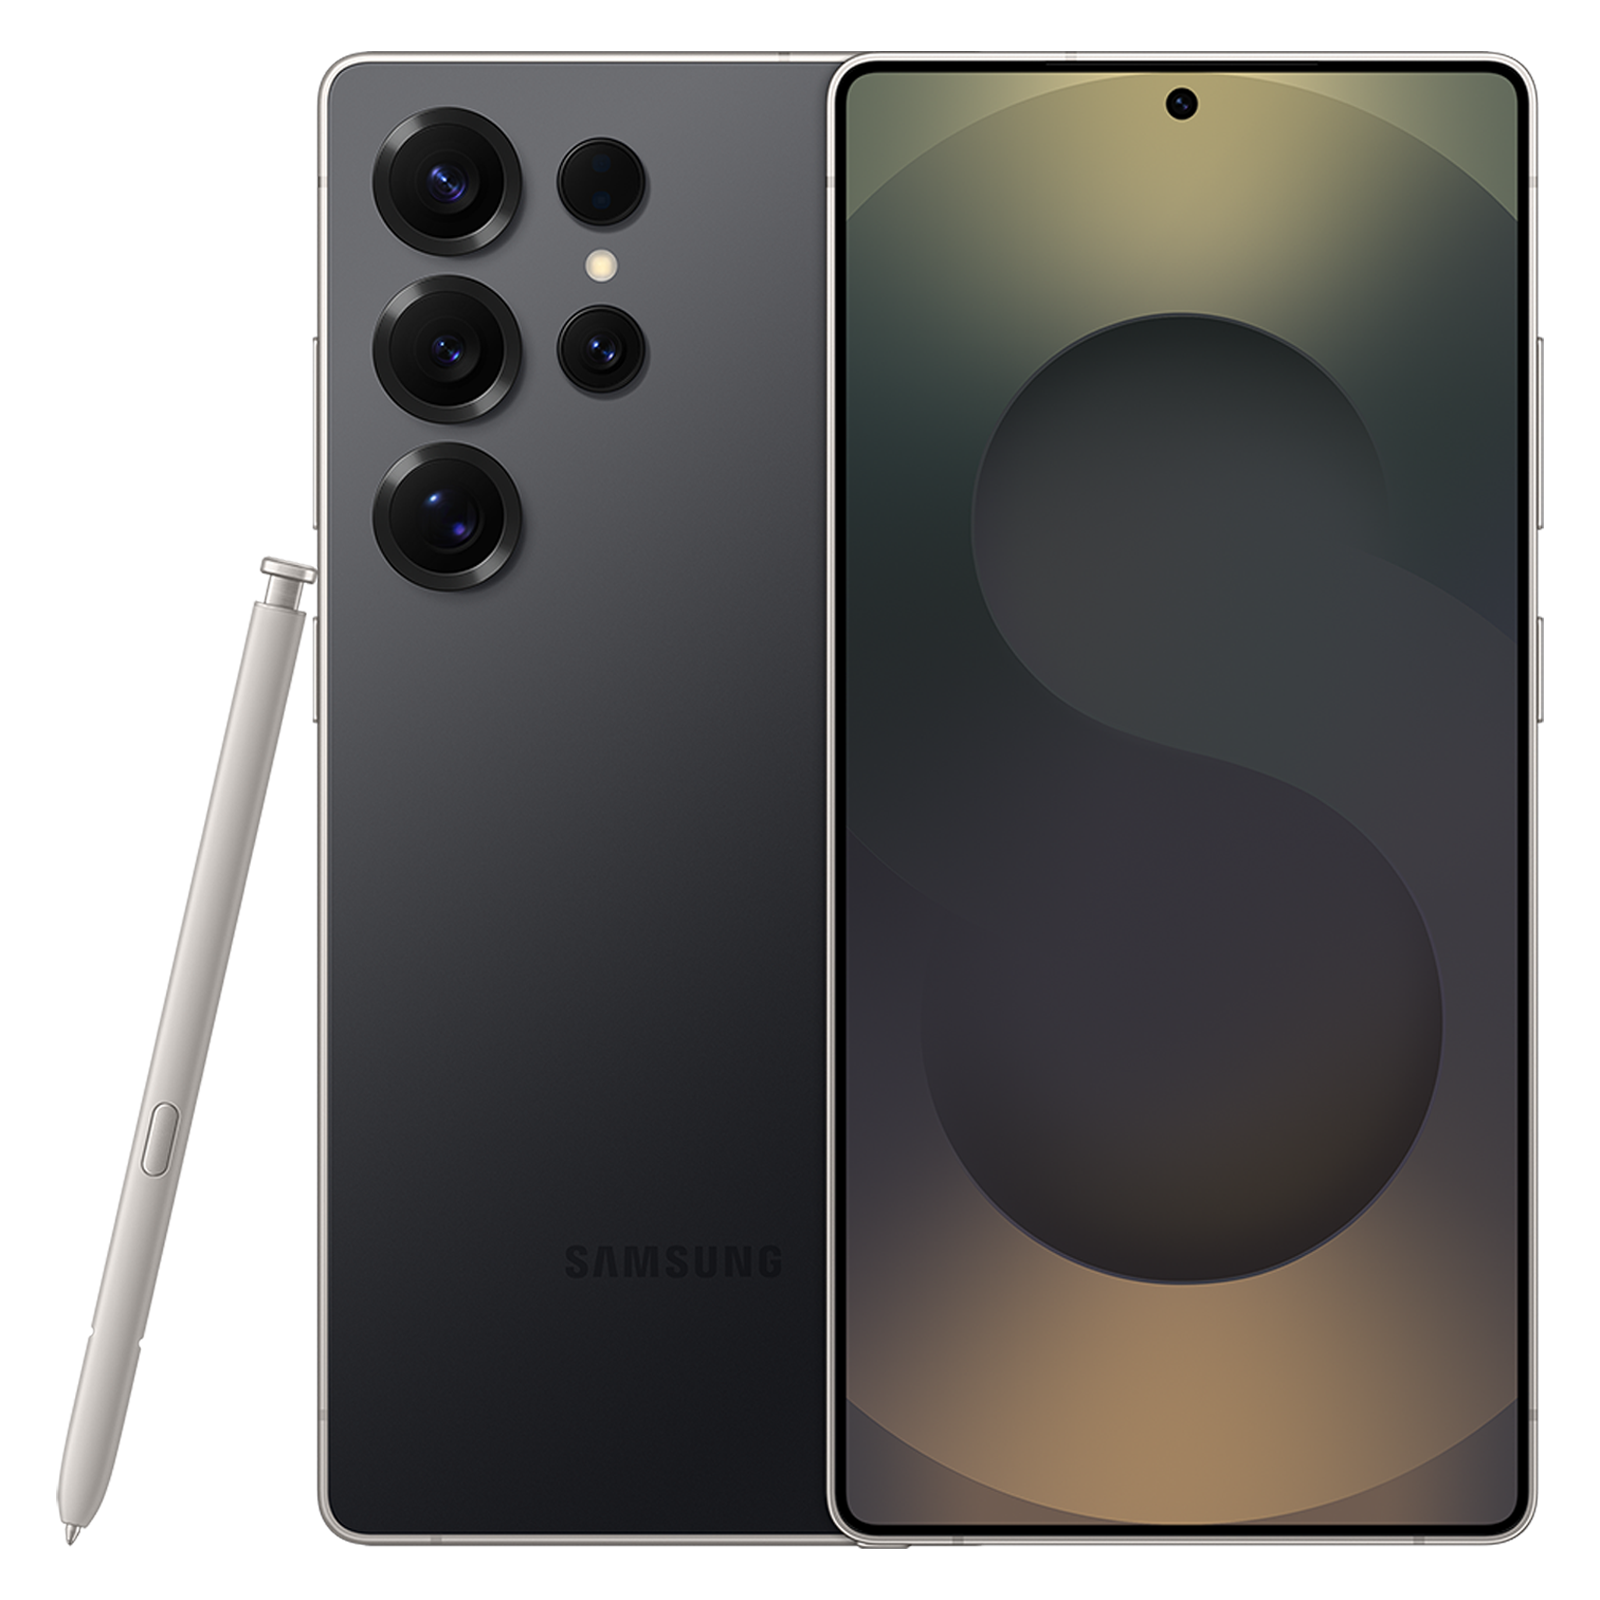
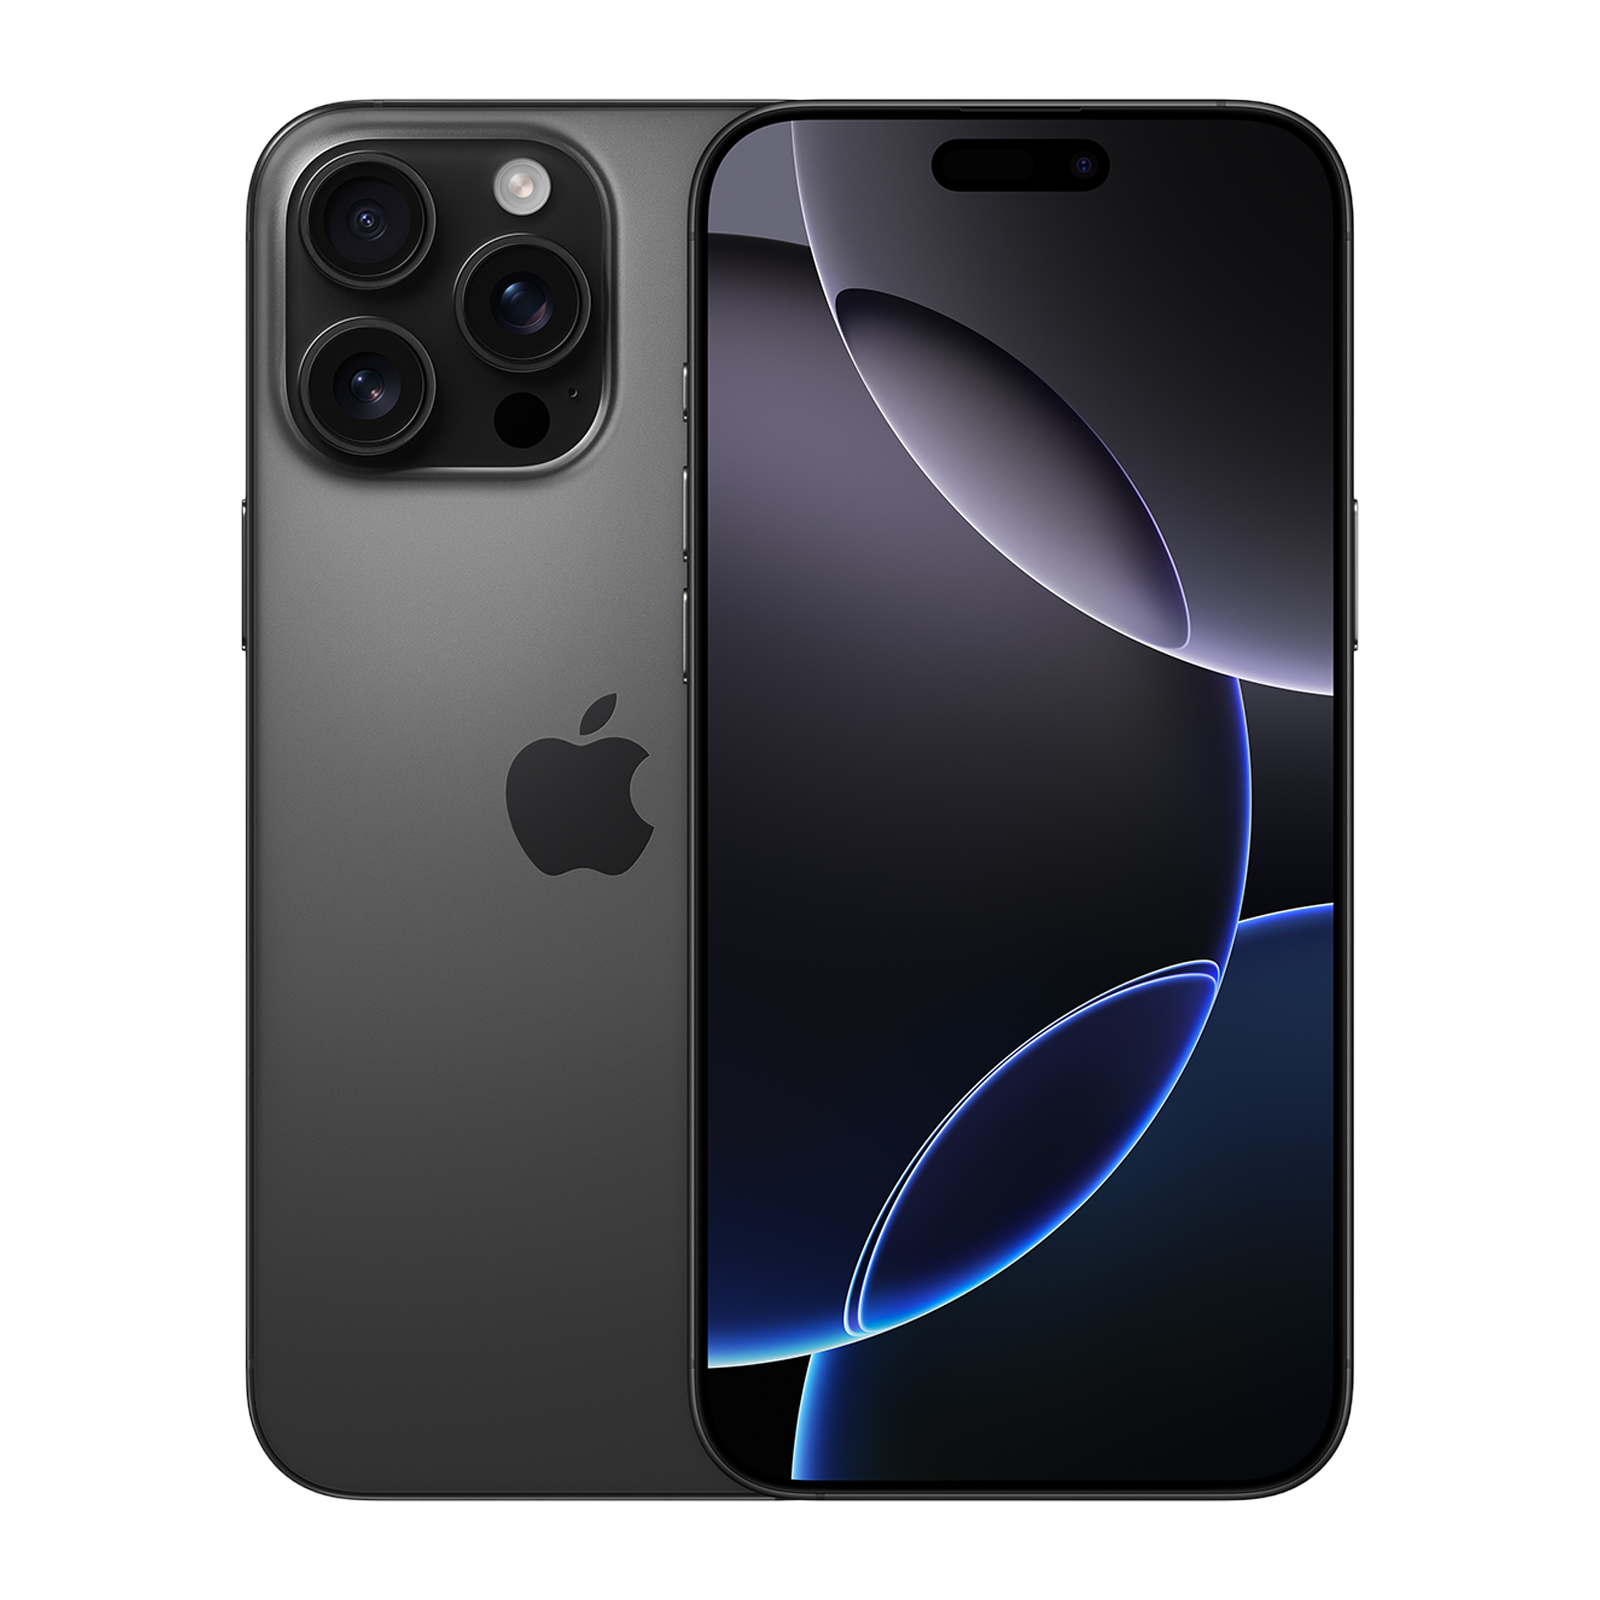
If you’re a working individual with a hectic schedule, or a student juggling countless assignments and projects, sending SMSes, however important, may not be high on your priority list. However, if you are able to draft texts during your downtime, try scheduling these messages on your phone to ensure you never miss out on sending something important.
Whether you have an Android or an iPhone, both platforms allow you to schedule text messages in advance, ensuring they are delivered exactly when you need them to be, regardless of whether you’re available at that moment.
ALSO READ: You may soon be able to schedule routine tasks on Gemini with a new live prompts feature
Need to send a project update to your boss at 10 AM but have a meeting with someone else at the same time? Schedule a text! Want to write your girlfriend a good morning message, but have band practice before she wakes up? Schedule a text! Let’s dive into a step-by-step guide on how you can schedule texts on an Android phone or an iPhone.
How to schedule text messages on Android phones
On Android, we’ll be guiding you through the process using Google Messages, which you can download on any Android phone. Here are the steps:
1. Open Google Messages, then start a conversation or open an existing chat.
2. Type out your message and press and hold the send button.
3. You will see some preset time options, or you can tap on “Select date and time.”
4. Once you’ve chosen a date and time, confirm by tapping the send icon.
5. Your scheduled text will be marked with an icon and will go out at the specified time.
How to schedule text messages on iPhone
Did you know that iPhones couldn’t schedule text messages until iOS 18? It was previously an Android-only feature; so important that many Android users refused to switch to iOS because of its absence.
ALSO READ: 18 cool iOS 18 tips to help you get the most out of your iPhone
Well, that’s no longer an issue. To schedule a text on iOS, just follow these steps:
1. Ensure your iPhone is updated to iOS 18 or above.
2. Open the Messages app and tap the ‘+’ icon.
3. Select ‘Send Later’ to view the scheduler.
4. Select the time and date, then hit the send button.
5. Scheduled messages will appear within a dotted line.
Do note that you can only send scheduled messages on iPhone to users who also use iMessage.
Was this guide helpful? Let us know in the comments, and stay tuned to Unboxed by Croma for more handy guides.
Unleash your inner geek with Croma Unboxed
Subscribe now to stay ahead with the latest articles and updates
You are almost there
Enter your details to subscribe

Happiness unboxed!
Thank you for subscribing to our blog.
Disclaimer: This post as well as the layout and design on this website are protected under Indian intellectual property laws, including the Copyright Act, 1957 and the Trade Marks Act, 1999 and is the property of Infiniti Retail Limited (Croma). Using, copying (in full or in part), adapting or altering this post or any other material from Croma’s website is expressly prohibited without prior written permission from Croma. For permission to use the content on the Croma’s website, please connect on contactunboxed@croma.com
- Related articles
- Popular articles


Dhriti Datta
Comments