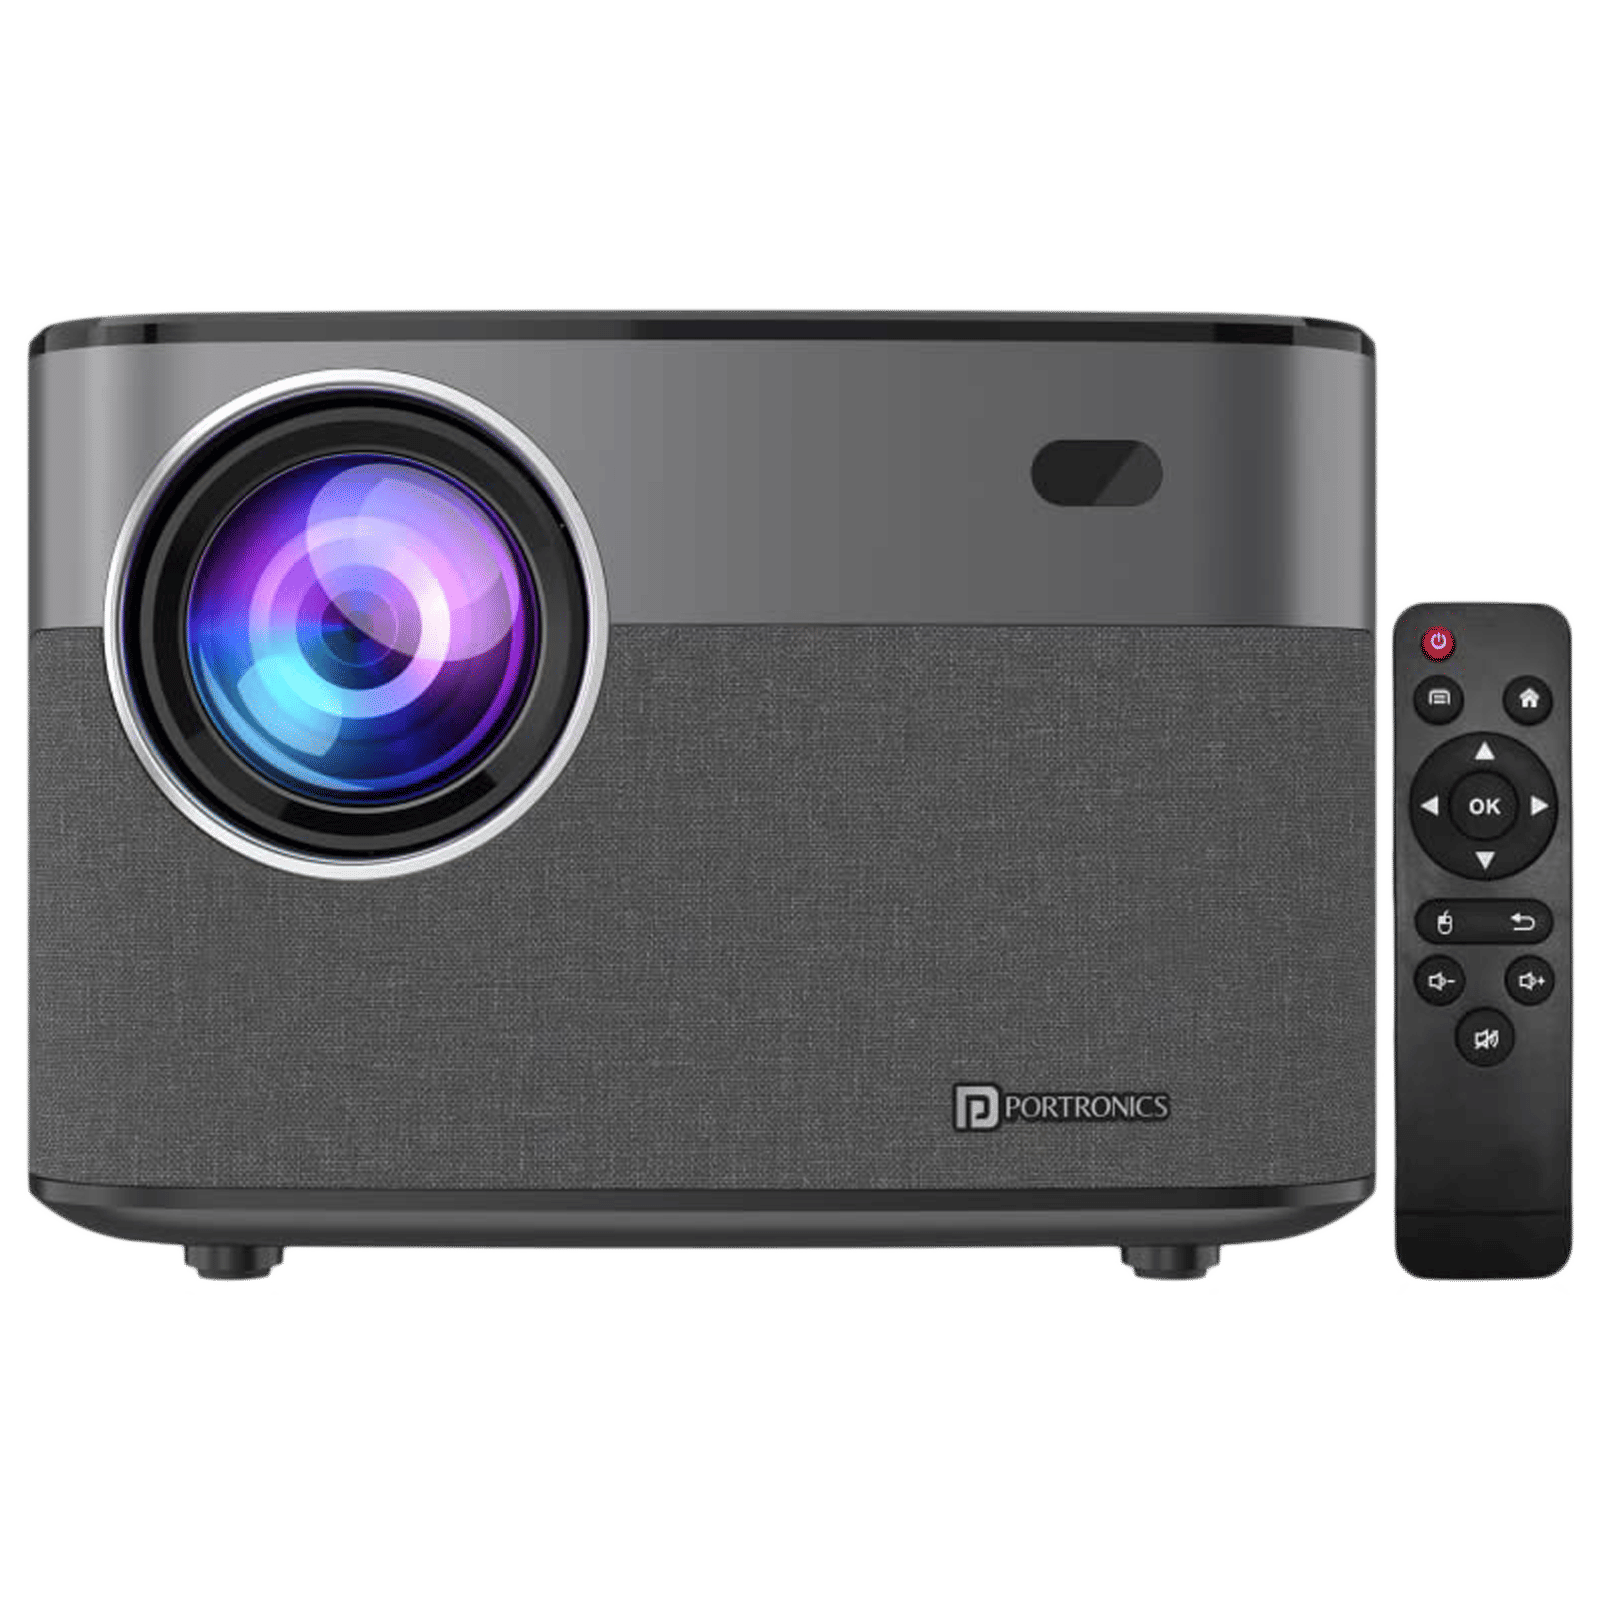
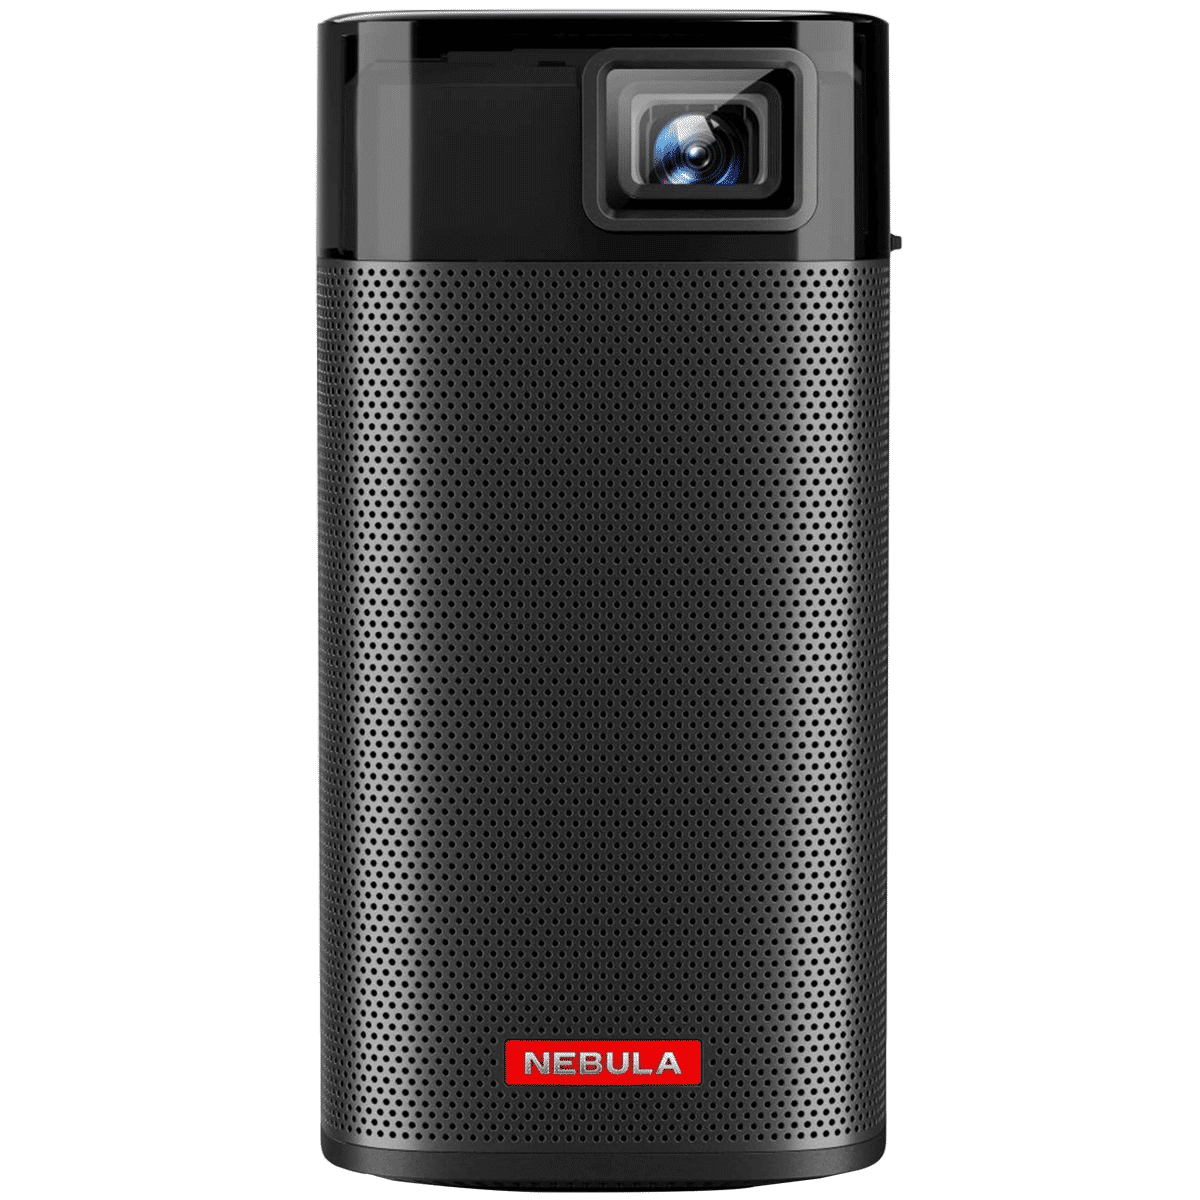
Let’s say you’ve put together a great presentation on your MacBook, and now it’s time to share it with the team. Or maybe you’re in the mood for a movie night and want to watch it on the big screen. Connecting your MacBook to a projector can make a huge difference in these moments, giving your content the space and clarity it needs.
Beyond scaling up the screen, projectors let you engage with larger audiences and overcome the limitations of a smaller display. So, to help you get started, here’s how you can easily connect a MacBook to a projector.
How to connect a MacBook to a projector
Connecting your MacBook to a projector is easier than you might think. Whether it’s for a presentation at work or setting up a community event, knowing how to make the connection can save you from fumbling with wires and settings.
Depending on your setup, you can use an HDMI cable, USB connection, or even go wireless. In this guide, we’ll list down and explain all the different ways to connect your MacBook to a projector for a smooth experience.
Connecting your MacBook to a projector using HDMI
Here’s how to connect your MacBook to a projector:
1. Check your MacBook’s ports and gather what you need
Start by identifying the type of ports on your MacBook. Newer models typically have Thunderbolt 3 (USB-C) ports, while older ones may have HDMI or Mini DisplayPort. Once you know your MacBook’s port type, gather the necessary items.
ALSO READ: How to change power settings on a MacBook
You’ll only need an HDMI cable if your MacBook has an HDMI port. For models with Thunderbolt 3 or Mini DisplayPort, you’ll need an adapter that converts to HDMI. Be sure to also check what ports your projector supports to avoid compatibility issues.
2. Make the connection
Before connecting, turn off both your MacBook and the projector to avoid signal issues. Plug one end of the HDMI cable into the projector and the other into your MacBook or the adapter if needed. Double-check the connections are secure before turning everything back on.
3. Adjust display settings
With the cable securely connected, power on your MacBook and the projector. Wait a few moments for the devices to sync. In most cases, the projector will automatically display your MacBook’s screen. If it doesn’t, open System Preferences on your MacBook, go to Displays and adjust the settings. Use Mirror Displays to show the same content on both screens or Extended Desktop to multitask with separate displays.
Connecting your MacBook to a projector using USB
If you prefer a more modern connection, using a USB cable can be a great option. Here’s how you can do it step by step.
1. Check your projector for USB ports
First, check if your projector has a USB port, as many newer models do. Make sure the USB port on your projector matches the cable you have. Depending on the ports available on your MacBook and projector, you’ll need a compatible USB cable, either USB-C to USB-A or USB-C to USB-C. Once you’ve confirmed the right cable, you’re all set to connect.
2. Connect the devices
Turn off both your MacBook and the projector, then connect one end of the USB cable to your MacBook and the other to the projector. Once connected, power on both devices and let them sync.
3. Configure display settings
If your projector doesn’t automatically display your screen, head to System Preferences, select Displays, and make adjustments. Choose Mirror Displays for identical content or Extended Desktop to use the projector as a secondary screen.
Connecting your MacBook to a projector wirelessly
For a completely cable-free experience, connecting your MacBook wirelessly to a projector can be super convenient. Here’s how to connect your MacBook to a projector wirelessly.
1. Check for wireless compatibility
Firstly, ensure your projector supports wireless connectivity. Some projectors have built-in wireless capabilities, while others require an additional wireless adapter.
2. Connect to the same Wi-Fi network
To project wirelessly, make sure both your MacBook and projector are connected to the same Wi-Fi network.
3. Use AirPlay (For Apple TV)
If you’re using an Apple TV with your projector, you can use AirPlay to wirelessly project your screen. Click on the AirPlay icon in the menu bar of your MacBook and choose your Apple TV from the list of available devices.
4. Enable mirroring (For Apple TV)
Once connected, make sure “Mirroring” is enabled in the AirPlay menu to show your MacBook’s display on the projector in real time.
ALSO READ: Different types of projectors based on technology and applications
If AirPlay isn’t an option, apps like Reflector, AirServer, and others can help. Simply, install the app on your MacBook via the App Store, follow the on-screen instructions to connect, and start projecting wirelessly. Once the connection is set up, adjust your display settings in System Preferences to ensure the resolution and aspect ratio if needed, to make sure everything looks crisp on the big screen.
Unleash your inner geek with Croma Unboxed
Subscribe now to stay ahead with the latest articles and updates
You are almost there
Enter your details to subscribe

Happiness unboxed!
Thank you for subscribing to our blog.
Disclaimer: This post as well as the layout and design on this website are protected under Indian intellectual property laws, including the Copyright Act, 1957 and the Trade Marks Act, 1999 and is the property of Infiniti Retail Limited (Croma). Using, copying (in full or in part), adapting or altering this post or any other material from Croma’s website is expressly prohibited without prior written permission from Croma. For permission to use the content on the Croma’s website, please connect on contactunboxed@croma.com
- Related articles
- Popular articles


Shubhendu Vatsa
Comments