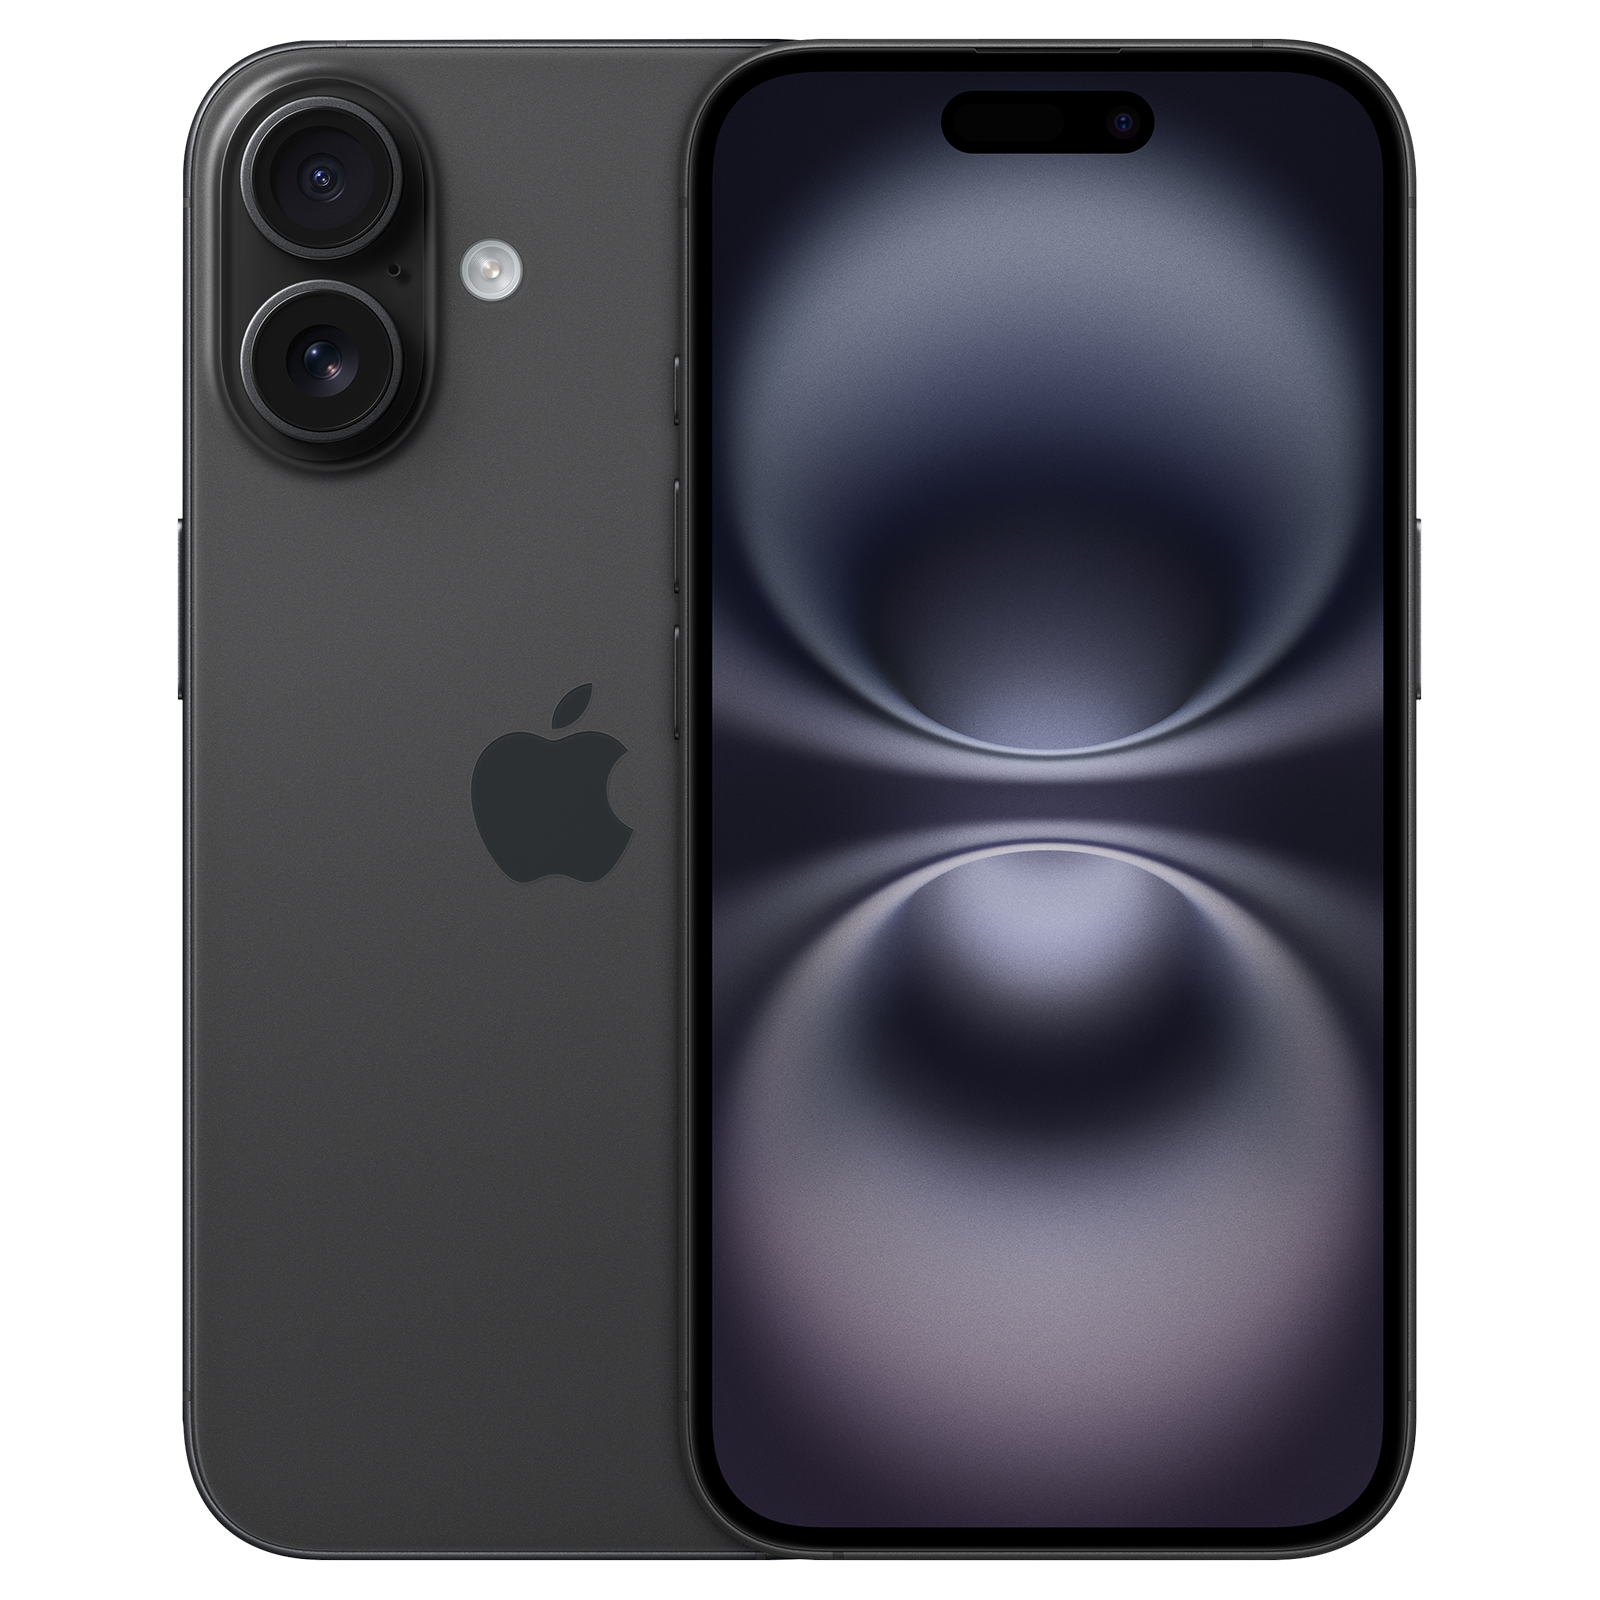
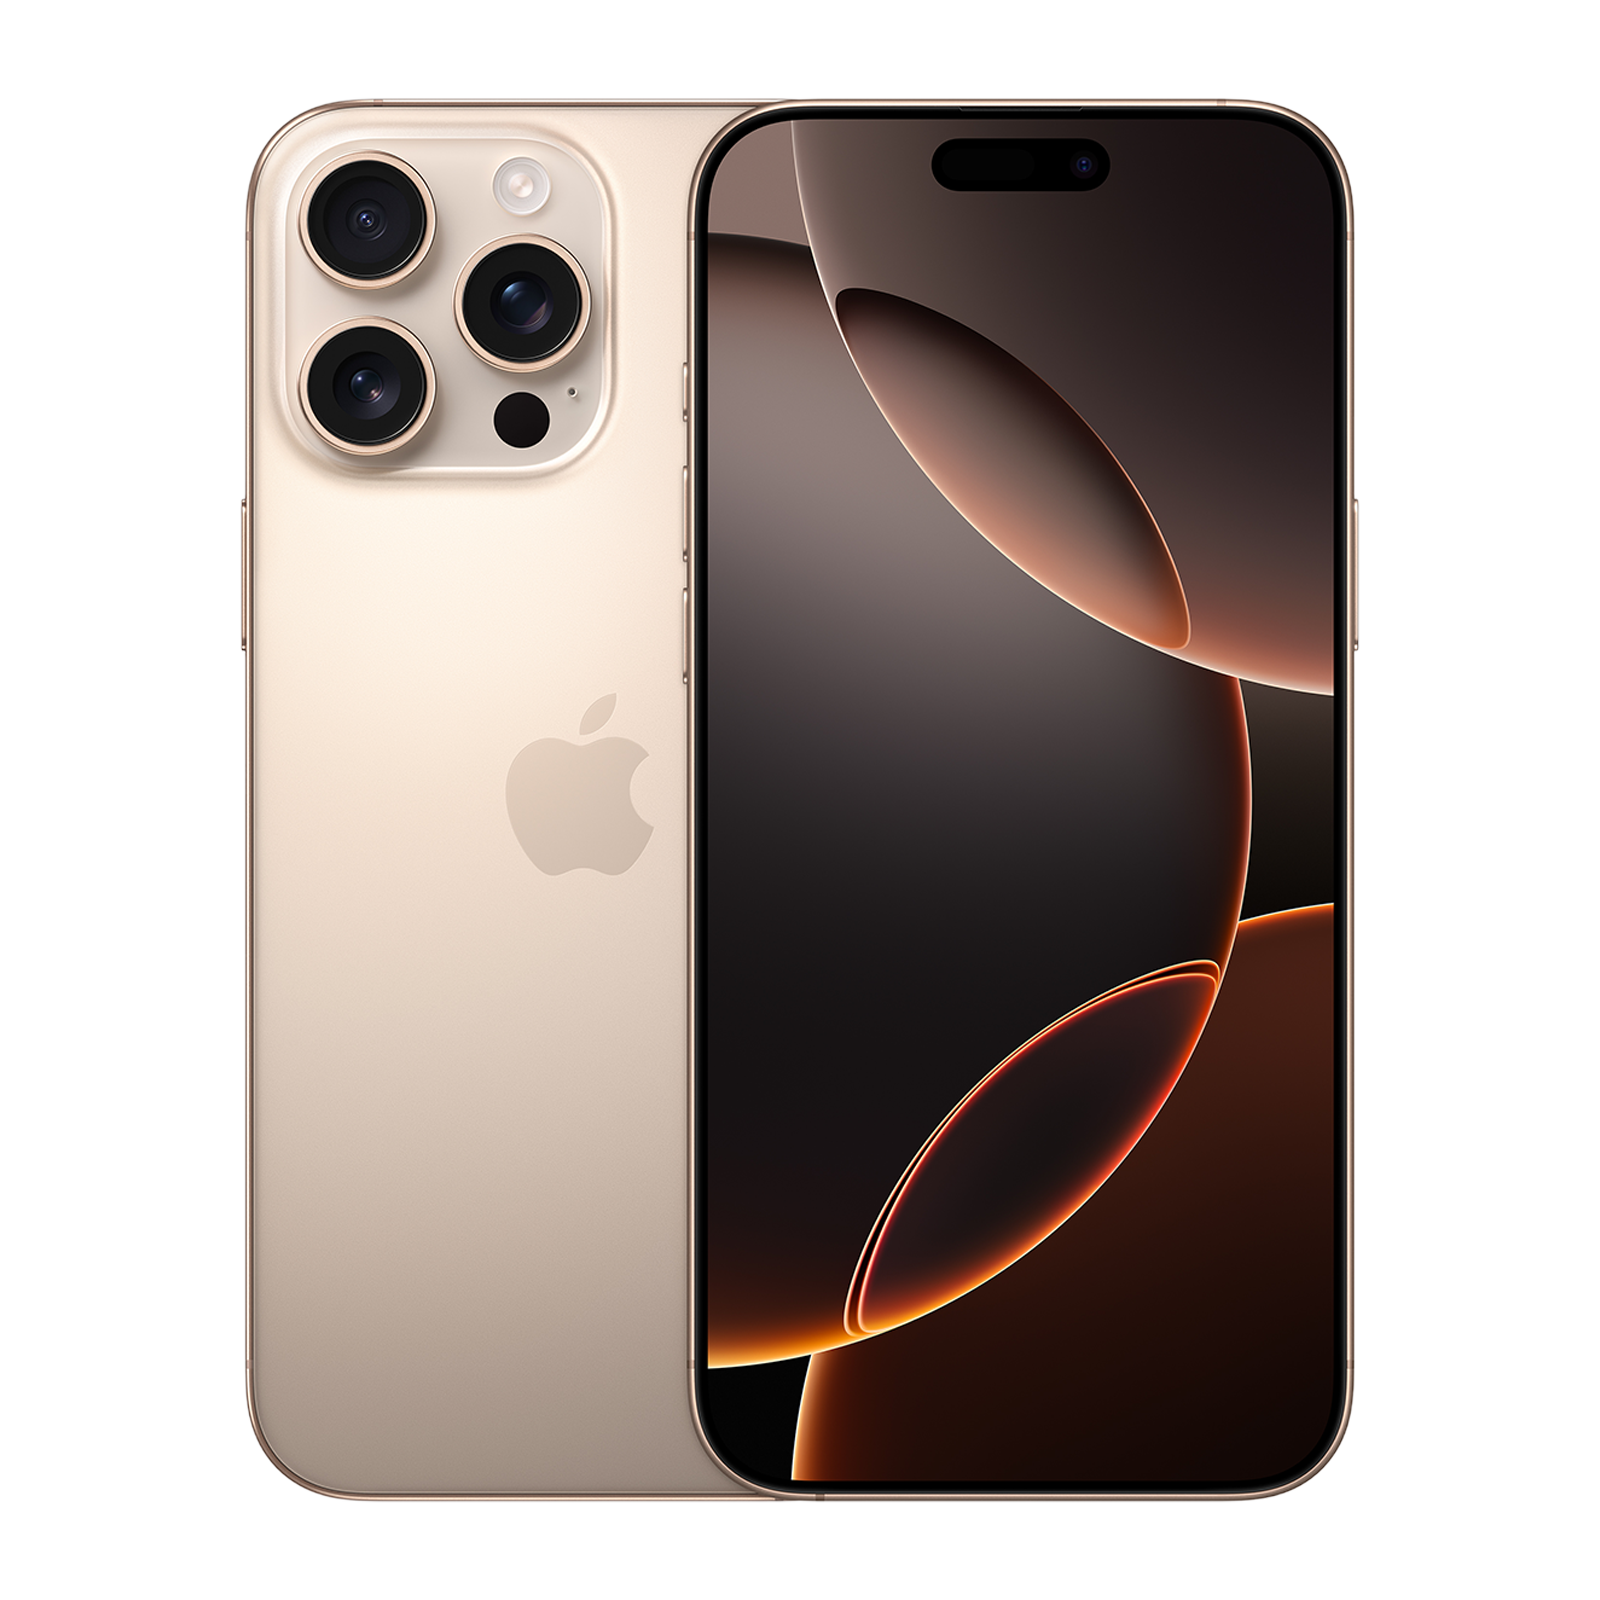
The Apple iPhone has become the default camera for most people around the world. With over 1.46 billion active iPhone users globally, there is a reason why most people trust their iPhone as their point-and-shoot camera.
While it is true that the iPhone takes great photos, there are occasionally times when you would want to edit your photos to give them a better appearance. After all, not everyone likes every result of computational photography. And with editing smartphone photos becoming easier, here’s how a pro photographer edits iPhone photos.
Edit iPhone photos
Before we edit iPhone photos like a pro, let’s take a look at the editing tools offered by Apple. After you take a photo, Apple allows users to view and edit their photos in the Photos app. With the Photos app, you can adjust the light and colour, add a filter, and more.
– To adjust light and colour, go to the Photos app and tap a photo you want to edit. Then click on the settings from the bottom row.
– Now, swipe left under the photo to view the light adjustments you can make such as Brilliance, Highlights, Shadows, Saturation, etc.
ALSO READ: iPhone 16 Pro Max long-term review
– Tap the lighting setting you want to adjust and then drag the slider for precise adjustment. You can also edit photographic styles, apply filters, or copy edits to multiple photos.
Edit pictures on iPhone like a pro photographer
While the above method is great for casual editing, a pro photographer will use a third-party app to get the best result. While there are apps like Halide and Snapseed that allow iPhone users to edit their photos, the Lightroom Photo Editor from Adobe is the best for editing like a pro. From its interface to professional editing tools, Lightroom covers everything.
If you are getting started then the first step is to download the Lightroom app from the App Store. The next step is to grant the app access to your photo library. Once Lightroom has access to your camera roll, here’s a look at how a pro photographer edits iPhone photos.
Step 1: Open the photo you want to edit on the Adobe Lightroom app on your iPhone.
Step 2: The first step would be to edit the exposure, highlights and shadows and you can do that by going to the light menu and adjusting the values. For the best result, drag the slider to understand what details you can recover without losing other details.
Step 3: The next step would be to jump to effects and change the clarity value to improve contrast. You can also adjust the texture of your image from this menu.
Step 4: Once you have changed the light and effects, the natural next place is the colour settings. This is where you adjust the white balance, saturation, vibrance, and tint of your image.
Step 5: You can also make finer adjustments using the selective tool from the far left-hand corner.
ALSO READ: Meet the ‘Special’ iPhones from around the world you didn’t know about
It is important to note that some features of Lightroom require an Adobe subscription but it is a great app for editing your iPhone photos like a pro photographer. Once you have made the edits, you can long press the image to see the difference and tap export to bring the image to your photo library.
Unleash your inner geek with Croma Unboxed
Subscribe now to stay ahead with the latest articles and updates
You are almost there
Enter your details to subscribe

Happiness unboxed!
Thank you for subscribing to our blog.
Disclaimer: This post as well as the layout and design on this website are protected under Indian intellectual property laws, including the Copyright Act, 1957 and the Trade Marks Act, 1999 and is the property of Infiniti Retail Limited (Croma). Using, copying (in full or in part), adapting or altering this post or any other material from Croma’s website is expressly prohibited without prior written permission from Croma. For permission to use the content on the Croma’s website, please connect on contactunboxed@croma.com
- Related articles
- Popular articles


Karthekayan Iyer
Comments