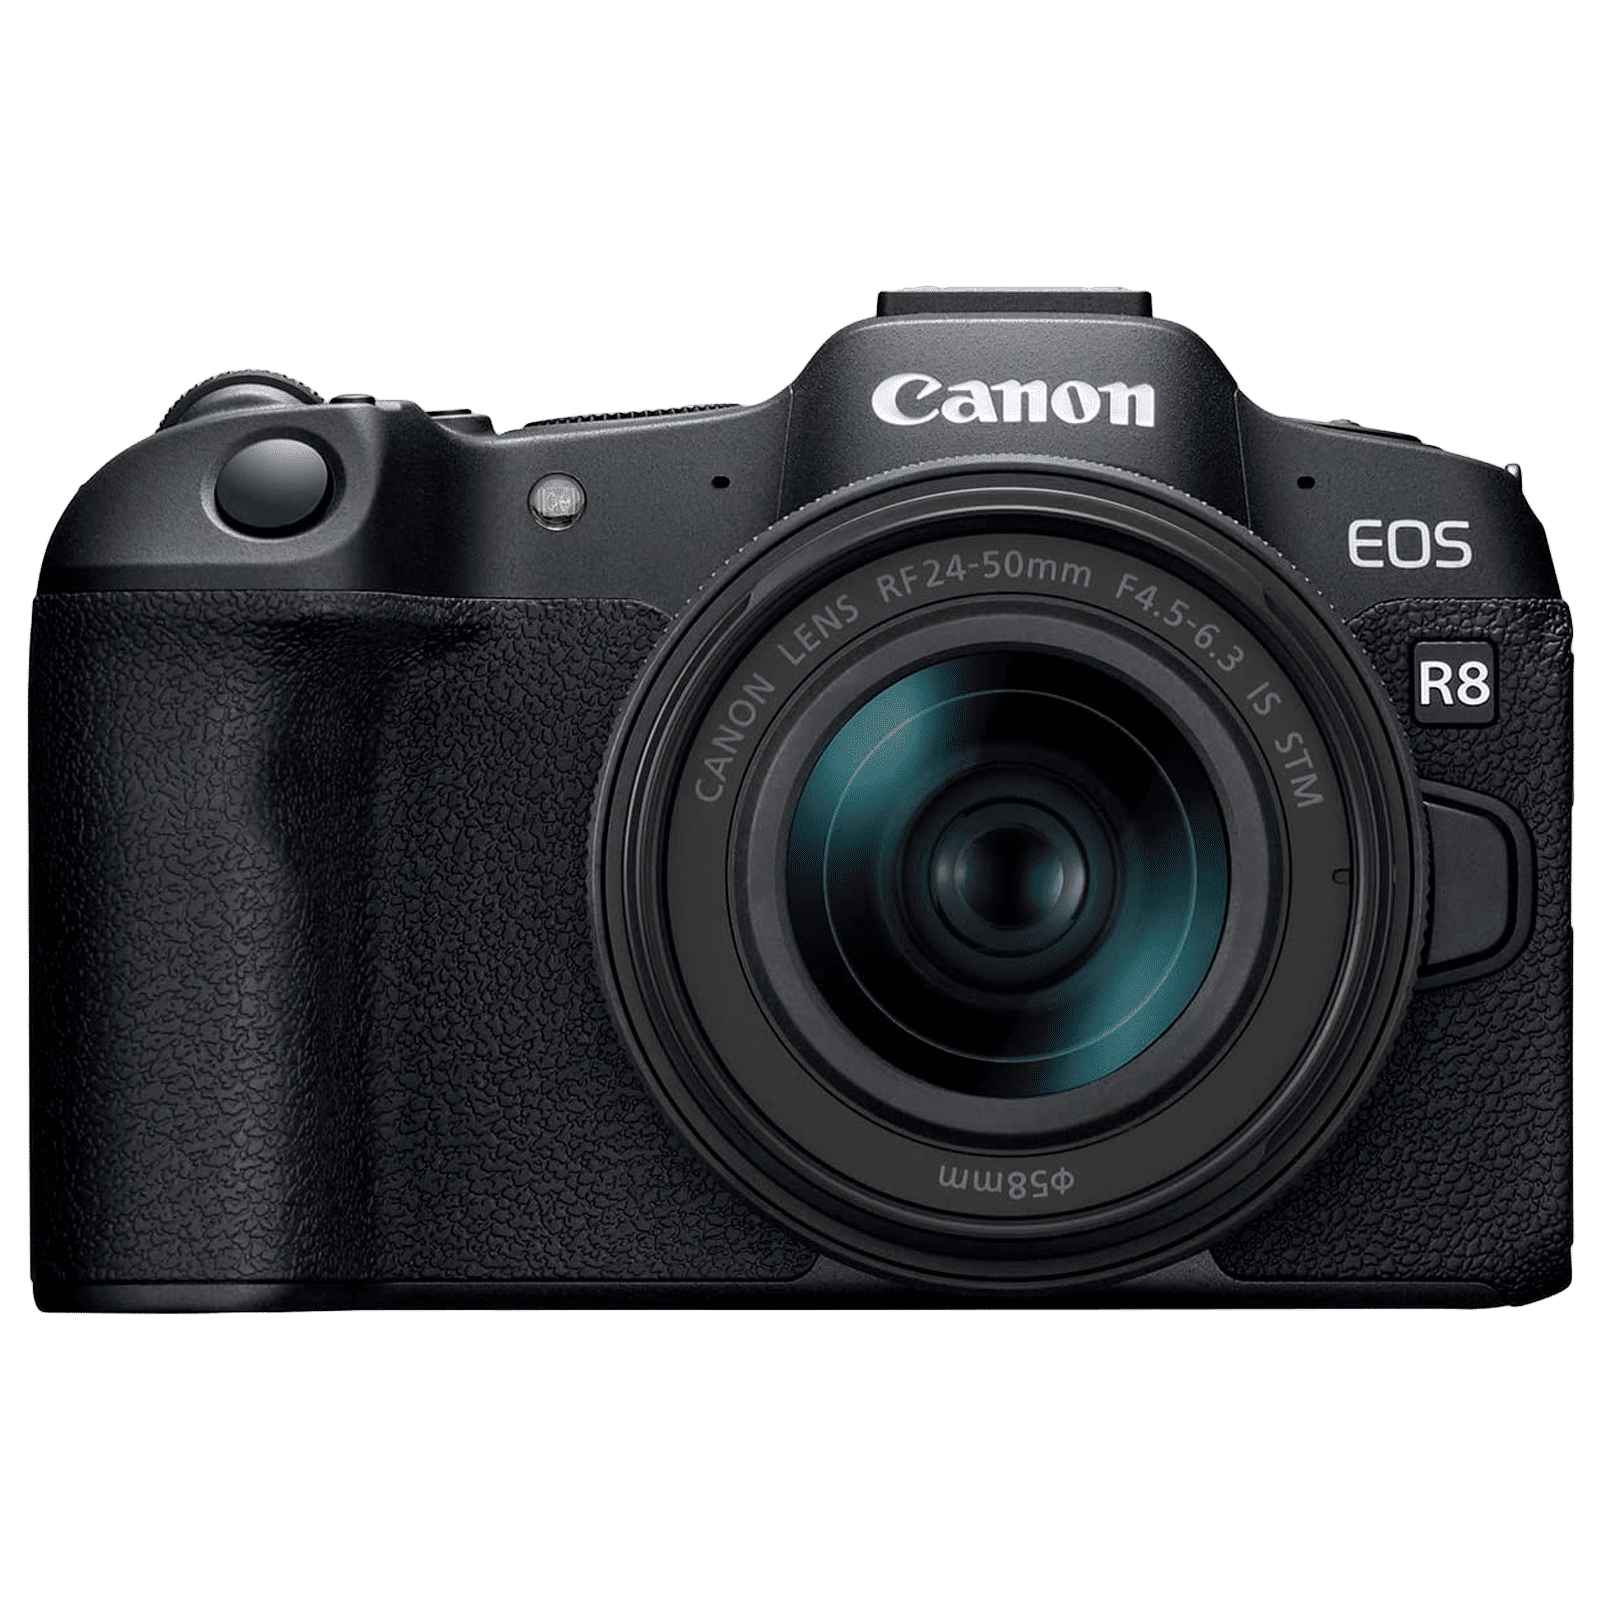
If you bought a new camera and are disappointed with the image quality then it might be time to switch to Pro or manual mode to take full control of your camera. With manual mode on your camera, you can control every aspect of your camera to capture images with a flexibility not available while shooting in Auto mode.
However, when you shoot in manual mode, the experience can be intimidating at first but it is not as difficult as it seems. The more you shoot in manual mode, you will understand the settings better and it won’t be easy to go back to auto. Whether you have a camera or an iPhone, here’s how to use the Pro mode or manual mode on your device.
Pro mode camera settings
Pro mode on your smartphone camera or manual mode on your mirrorless or DSLR camera is a mode that gives you complete control over your camera. Once you switch from auto to manual or pro mode, you will be able to adjust each and every setting offered by your camera, and mainly these three settings.
1. ISO
This setting controls your camera’s light sensitivity. Simply put, by increasing the ISO level you can increase your camera’s light sensitivity to capture a brighter image. For instance, your images might turn out dark at night, and in manual mode, you can compensate for low light by boosting your ISO.
ALSO READ: Everything to know before buying your first interchangeable lens digital camera
However, with higher ISO, you will also be introducing noise which can ruin your otherwise good photo. So do not overdo it.
2. Aperture
The aperture is the opening in the lens and it defines how much light is let in. In other words, a wider aperture will let more light in and thus produce a brighter image. On your camera, you will be using f-stop to refer to aperture size with a smaller f-stop referring to a larger aperture while a larger number means a smaller aperture. A f/1.6 aperture will let in a lot more light than f/16 aperture. In addition to controlling the light, the aperture also controls the depth of field.
3. Shutter speed
The shutter speed is the exposure time of an image or how long the shutter stays open to allow light to hit the sensor. A faster shutter speed will result in less light reaching the sensor and producing a darker image. It also defines the sharpness of an image and a higher shutter speed will help capture sharper images.
In addition to these settings, you also need to control white balance in manual mode to get the best result. By adjusting the white balance, you can get neutral white tones and eliminate any colour cast from the scene
Products in focus
Pro mode on iPhone
Apple iPhone, especially the Pro models, have among the most powerful cameras on any smartphone. However, Apple handicaps the camera’s capabilities by restricting its key settings from being tweaked by the user. However, it is not completely a lost cause for Pro mode on iPhone. With the launch of the iPhone 12 Pro, Apple introduced a new camera feature called ProRAW.
Available with all Pro and Pro Max models, Apple allows you to combine computational photography with RAW capabilities when you shoot in ProRAW. By default, the iPhone shoots in HEIF and condenses a lot of sensor data to produce an image that doesn’t take up a lot of your storage. With ProRAW, you will be able to preserve all that sensor information for editing later.
Compared to standard JPEGs that are around 3 or 4MB, a ProRAW file averages about 75MB and will fill up your storage fast. Here’s how to enable ProRAW on your iPhone:
Step 1: Go to Settings.
Step 2: Scroll down to Camera and navigate to Formats.
ALSO READ: Best mirrorless cameras in India in 2024
Step 3: Look for ProRAW & Resolution Control.
Step 4: Flip the toggle to enable ProRAW.
With iPhone 14 Pro or iPhone 14 Pro Max, you will see an option to choose either 12MP or 48MP resolution. With iPhone 15 Pro Max, you will get to choose between PEG Max (up to 48MP, ~10 MB file sizes), ProRAW (up to 12MP, ~25 MB file sizes), or ProRAW Max (up to 48MP, ~75 MB file sizes). Once enabled, go to your iPhone camera and tap the crossed-out RAW icon in the upper right corner of the screen.
While this is not a true Pro mode, where Apple allowed users to change ISO, aperture, and shutter speed, it is one step taking users closer to shooting pro images. You can also use third-party camera apps to shoot in Pro mode on iPhones.
Unleash your inner geek with Croma Unboxed
Subscribe now to stay ahead with the latest articles and updates
You are almost there
Enter your details to subscribe

Happiness unboxed!
Thank you for subscribing to our blog.
Disclaimer: This post as well as the layout and design on this website are protected under Indian intellectual property laws, including the Copyright Act, 1957 and the Trade Marks Act, 1999 and is the property of Infiniti Retail Limited (Croma). Using, copying (in full or in part), adapting or altering this post or any other material from Croma’s website is expressly prohibited without prior written permission from Croma. For permission to use the content on the Croma’s website, please connect on contactunboxed@croma.com
- Related articles
- Popular articles


Karthekayan Iyer
Comments