Online shopping is convenient, but a website can’t replicate the experience of buying from a physical store. These stores let customers touch products before taking them home. With high-resolution, high-quality product images on your website, you will elevate your brand and increase your clients’ trust. A high-quality product photograph is crucial when it comes to e-commerce.
Using product images help you convey the value and functionality of your products without having to see or touch them. Whether you are a professional product photographer or an e-commerce business owner, the following guide for product photography will help both of you.
Creating the best setup for product photography
Until recently, product photography was a costly endeavour. It cost a lot of money for retailers to hire professionals to take product shots. But now, mobile phones are capable of taking great product photos for e-commerce websites. These days, it is easy to build a DIY at-home photography studio by following some of these tips and steps.
Set up your background
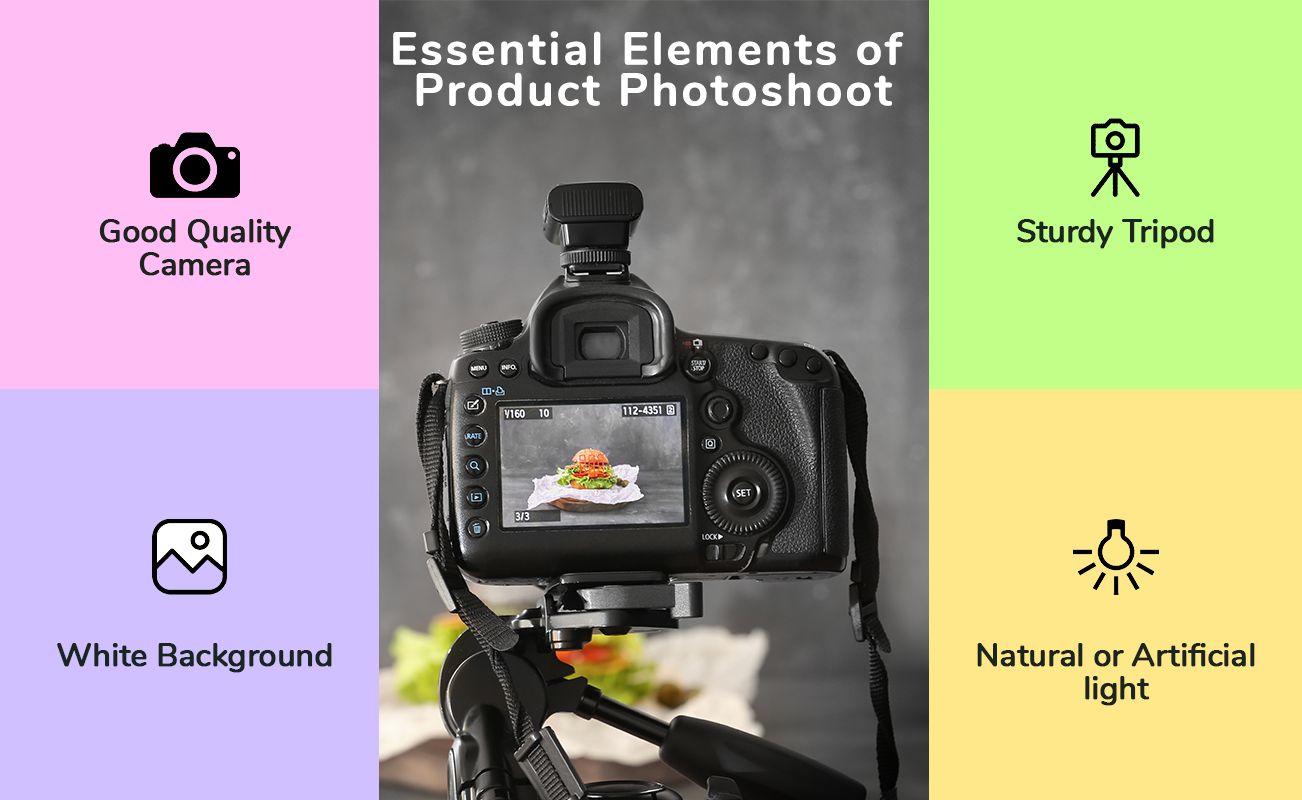
When it comes to post-production, choosing the right background will simplify the editing process and help keep the focus on the product you’re photographing. The removal of unwanted objects and retouching of photos will be easier if you use a white or light backdrop. After setting up your background, set up your shooting table.
Set up your product
Let’s put your product on display. Getting the right angle, lighting, and position for your product can take a few tries. Make sure your product is centred and stable in front of the backdrop. If your item has labels or special designs, you may have to spend some time adjusting the product until it is perfectly centred, especially for items like jewellery and accessories.
Adjust lighting
Having perfect lighting is essential to capturing quality product photos. A good image is enhanced by good lighting, despite it being tedious to adjust. Fortunately, you can choose between two types of light sources when it comes to product photography: natural light and artificial light.
Natural light is the best option for those on a budget. This is not to say that it’s a lower-quality photoshoot. It’s best to use natural light if you’re shooting outdoors. The use of artificial light may be a better solution if you have the budget and if you want to shoot at times when sunlight is not that effective.
Choose the best camera
For successful product photography, you must choose the right camera. You don’t need a fancy DSLR camera if you don’t intend to do photoshoots regularly, or if your budget is tight. With smartphone technology progressing so quickly, you will still have the best quality product photoshoot if you have an iPhone already in your pocket.
A tripod
The depth of field, which ultimately determines the sharpness of your picture, is crucial to getting that crisp picture that captures every detail of your product. Using a low aperture (high f/stop) and slow shutter speed will enable you to achieve this. It’s nearly impossible to hold the camera steady enough with your hands when your shutter speed is slow, which is when a tripod comes to the rescue.

Unleash your inner geek with Croma Unboxed
Subscribe now to stay ahead with the latest articles and updates
You are almost there
Enter your details to subscribe

Happiness unboxed!
Thank you for subscribing to our blog.
Disclaimer: This post as well as the layout and design on this website are protected under Indian intellectual property laws, including the Copyright Act, 1957 and the Trade Marks Act, 1999 and is the property of Infiniti Retail Limited (Croma). Using, copying (in full or in part), adapting or altering this post or any other material from Croma’s website is expressly prohibited without prior written permission from Croma. For permission to use the content on the Croma’s website, please connect on contactunboxed@croma.com
- Related articles
- Popular articles


Chetan Nayak
Comments