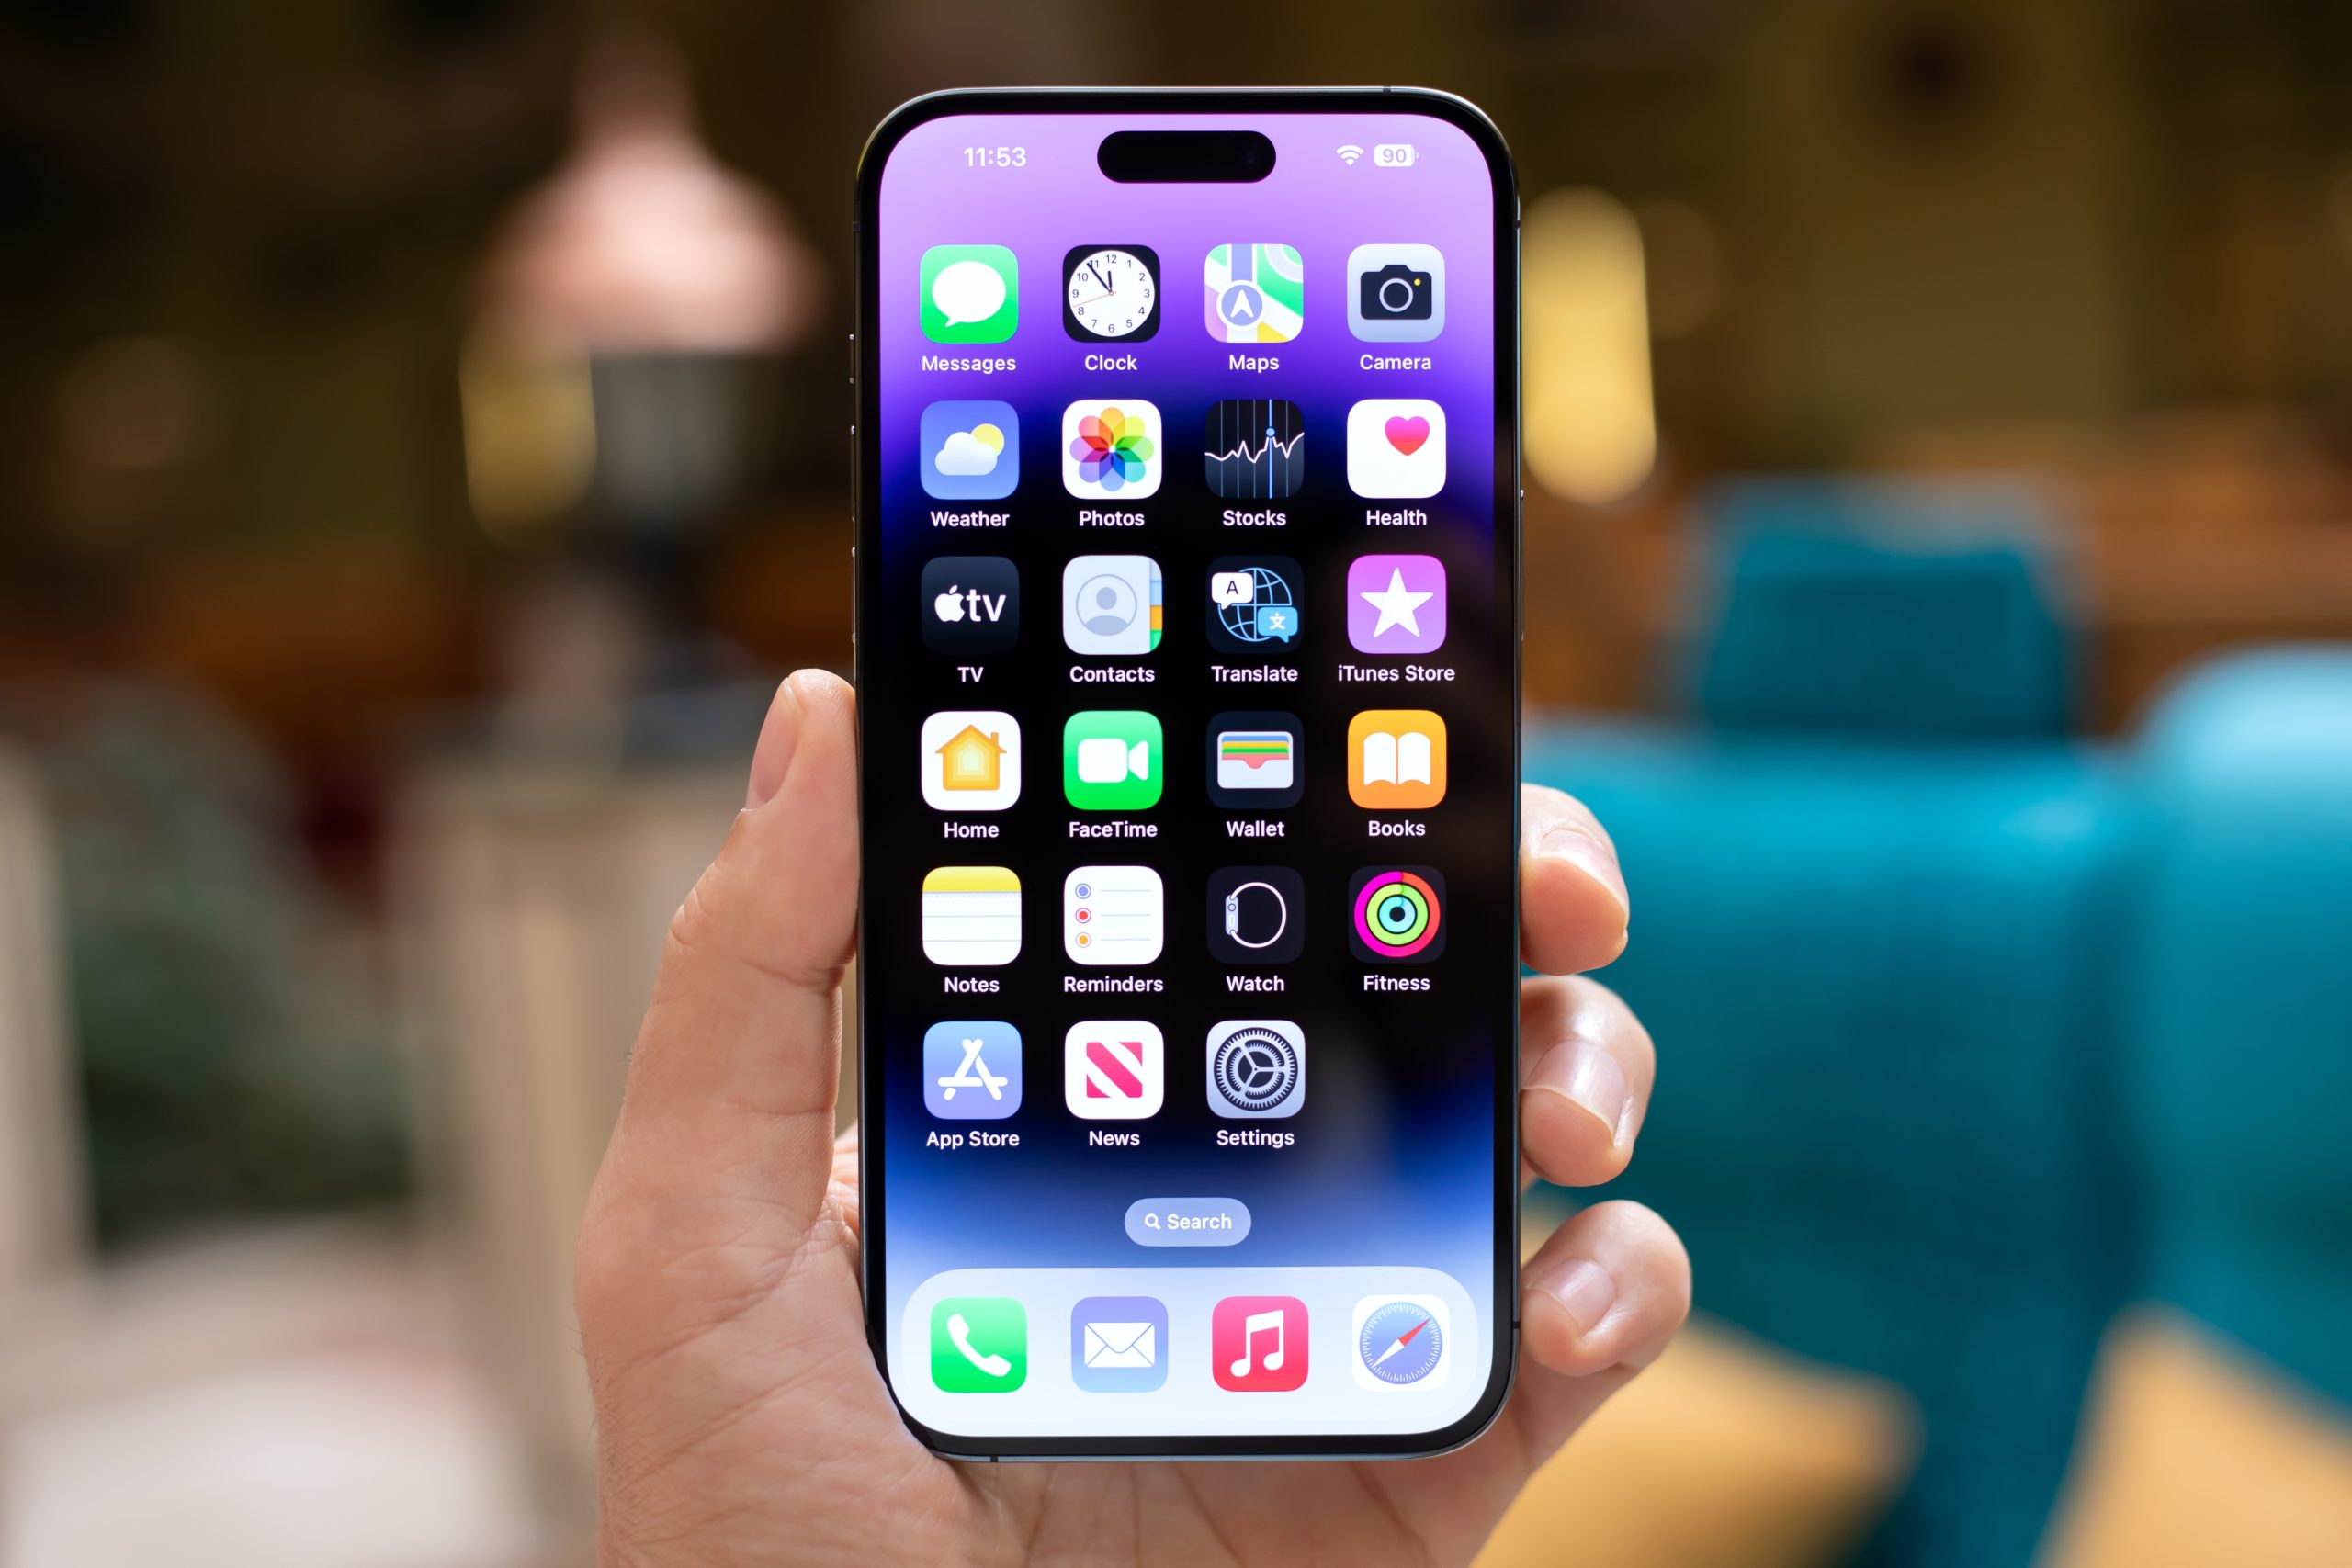
In today’s digital world, it has become increasingly common to digitise a variety of important documents. It is an efficient way to store and organise paperwork, eliminating the risk of losing important files. Thankfully, there are plenty of third-party scanner apps for smartphones, like the popular Adobe Scan, to create high-quality digital copies in seconds.
However, iPhone users don’t need to scourge for additional software as the device comes with a pre-installed Notes app that can do the job quickly and easily. It also offers other features apart from scanning, like e-signing, colour filters, combining multiple scans into a PDF, and more.
How to scan a document with an iPhone
The Notes app on your iPhone can scan documents, photos, and even handwritten notes. The final result looks like an actual scan and not just a piece of paper, thanks to the improved cameras on the phone.
ALSO READ: How to scan a QR code on Android phones and iPhones
Before getting started, it’s best to place the document on a flat surface in a well-lit area and ensure there isn’t any other text-based paper nearby.
If you are unaware of this feature, then in this guide, we will walk you through the process of scanning a document with your iPhone in a step-by-step manner.
Step 1: Launch the Notes app and tap on the ‘pen and paper’ icon at the bottom right corner to create a new note.
Step 2: Tap on the ‘Camera’ button that appears above the keyboard or at the bottom of the screen.
Step 3: Point the camera towards the document, and the app will automatically detect the edges and capture the scan.
Step 4: You can choose the manual scanning option as well, where you press the shutter button and then drag the corners to refine the scan.
Step 5: Tap save to add a scan to the note, or you can keep scanning for a multipage PDF.
It’s time to edit the document once it is scanned and saved in the note. You can rename, crop, adjust orientation, and share it. Additionally, you also get the option to sign the document. To e-sign, tap on the export button at the top right corner, which will offer options like print, mark up, and more.
ALSO READ: iPhone 17 Air: What to expect from Apple’s rumoured slimmest-ever iPhone
Choose ‘mark up’ and then tap on the ‘+’ button at the bottom right corner and select Signature. Here, you can add a saved signature or create a new one.
Scanning documents with an iPhone is quite a straightforward and effortless process as mentioned above. You can get it done in seconds without needing a third-party app.
Unleash your inner geek with Croma Unboxed
Subscribe now to stay ahead with the latest articles and updates
You are almost there
Enter your details to subscribe

Happiness unboxed!
Thank you for subscribing to our blog.
Disclaimer: This post as well as the layout and design on this website are protected under Indian intellectual property laws, including the Copyright Act, 1957 and the Trade Marks Act, 1999 and is the property of Infiniti Retail Limited (Croma). Using, copying (in full or in part), adapting or altering this post or any other material from Croma’s website is expressly prohibited without prior written permission from Croma. For permission to use the content on the Croma’s website, please connect on contactunboxed@croma.com
- Related articles
- Popular articles


Viraj Gawde
Comments