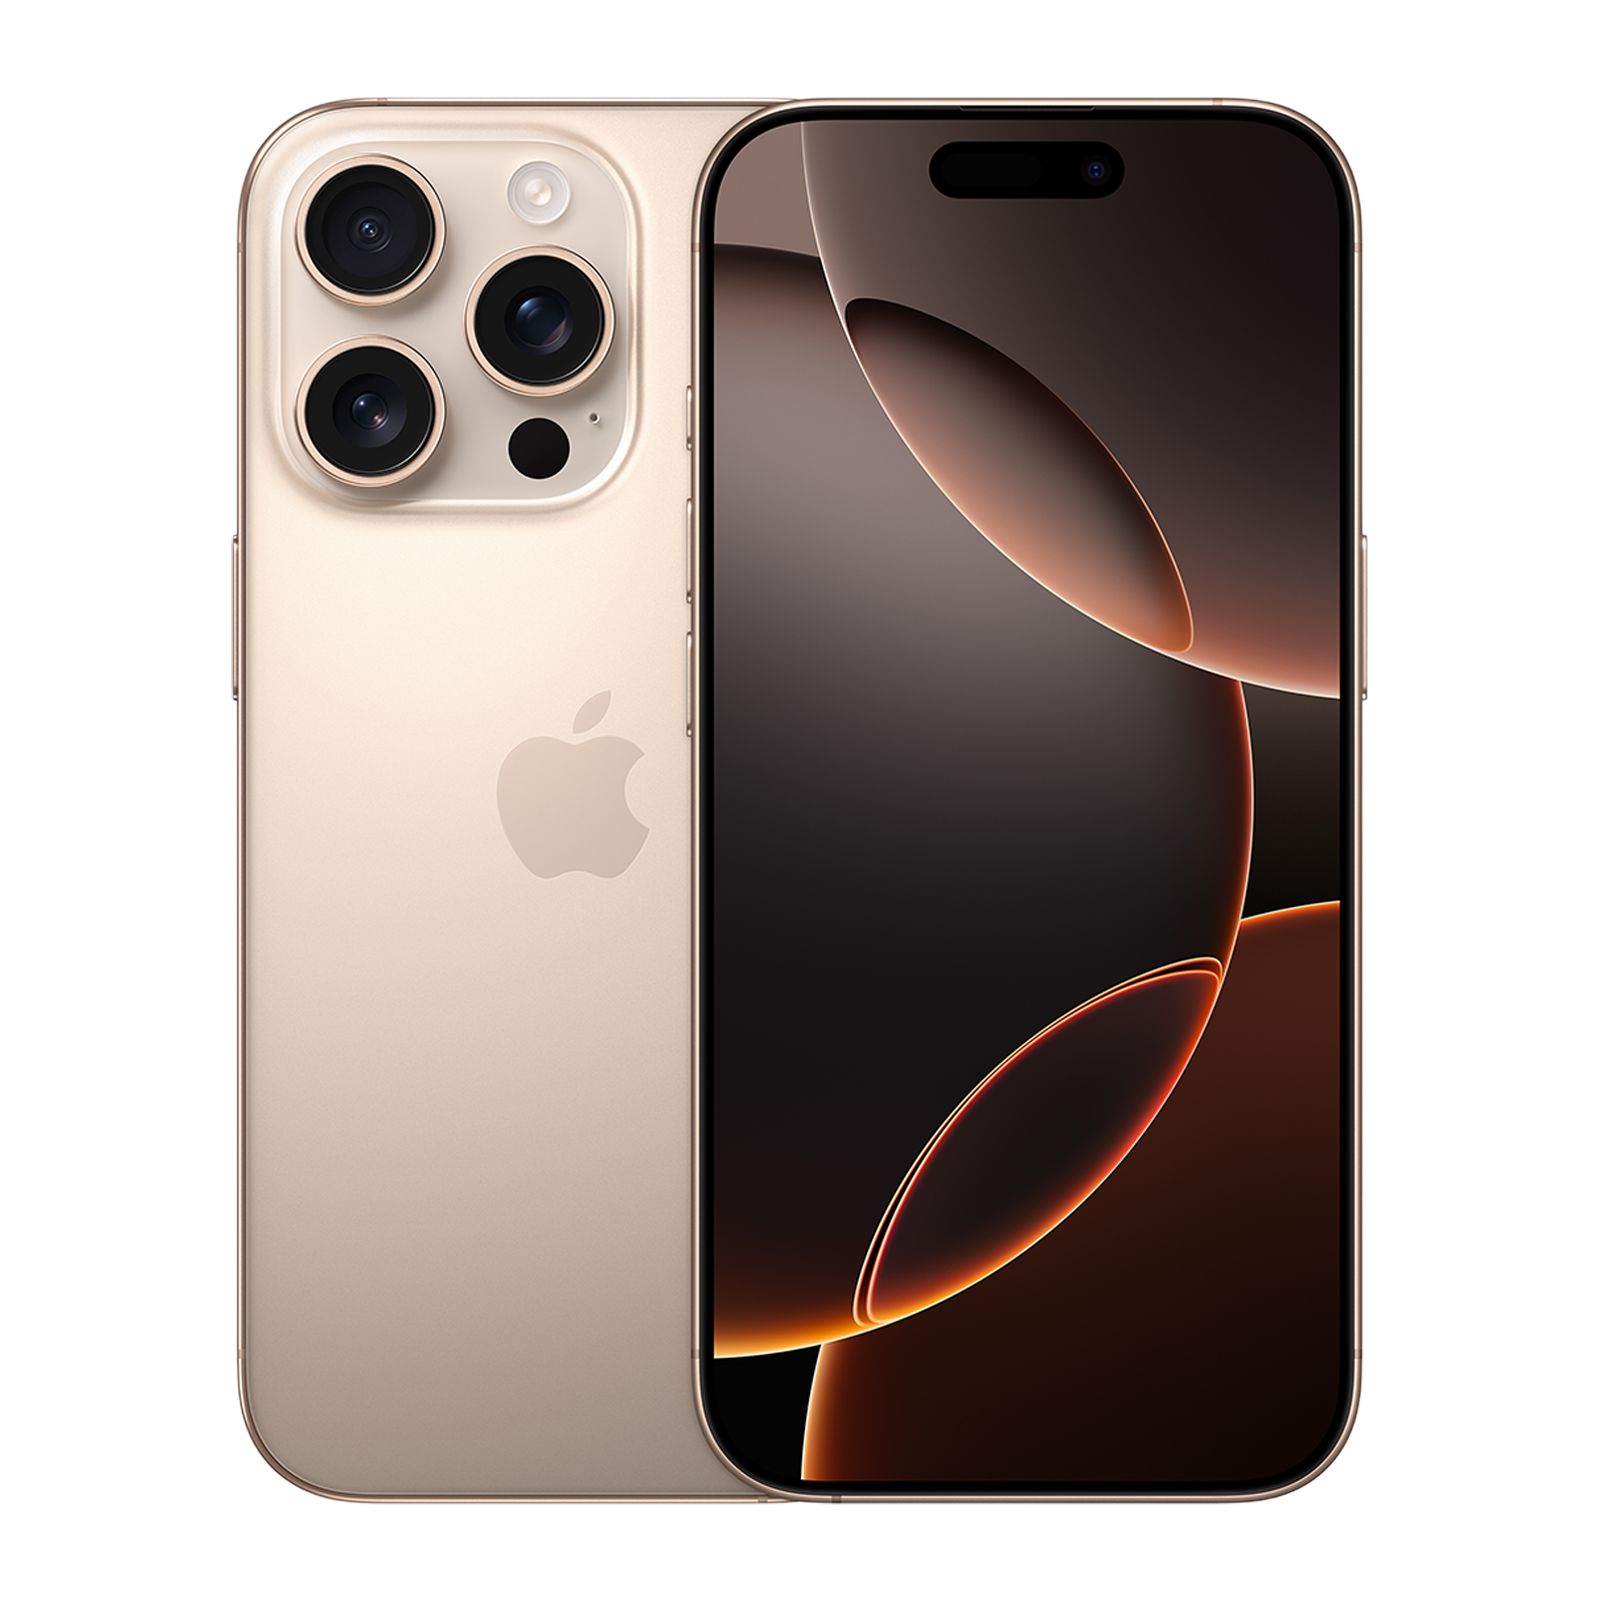
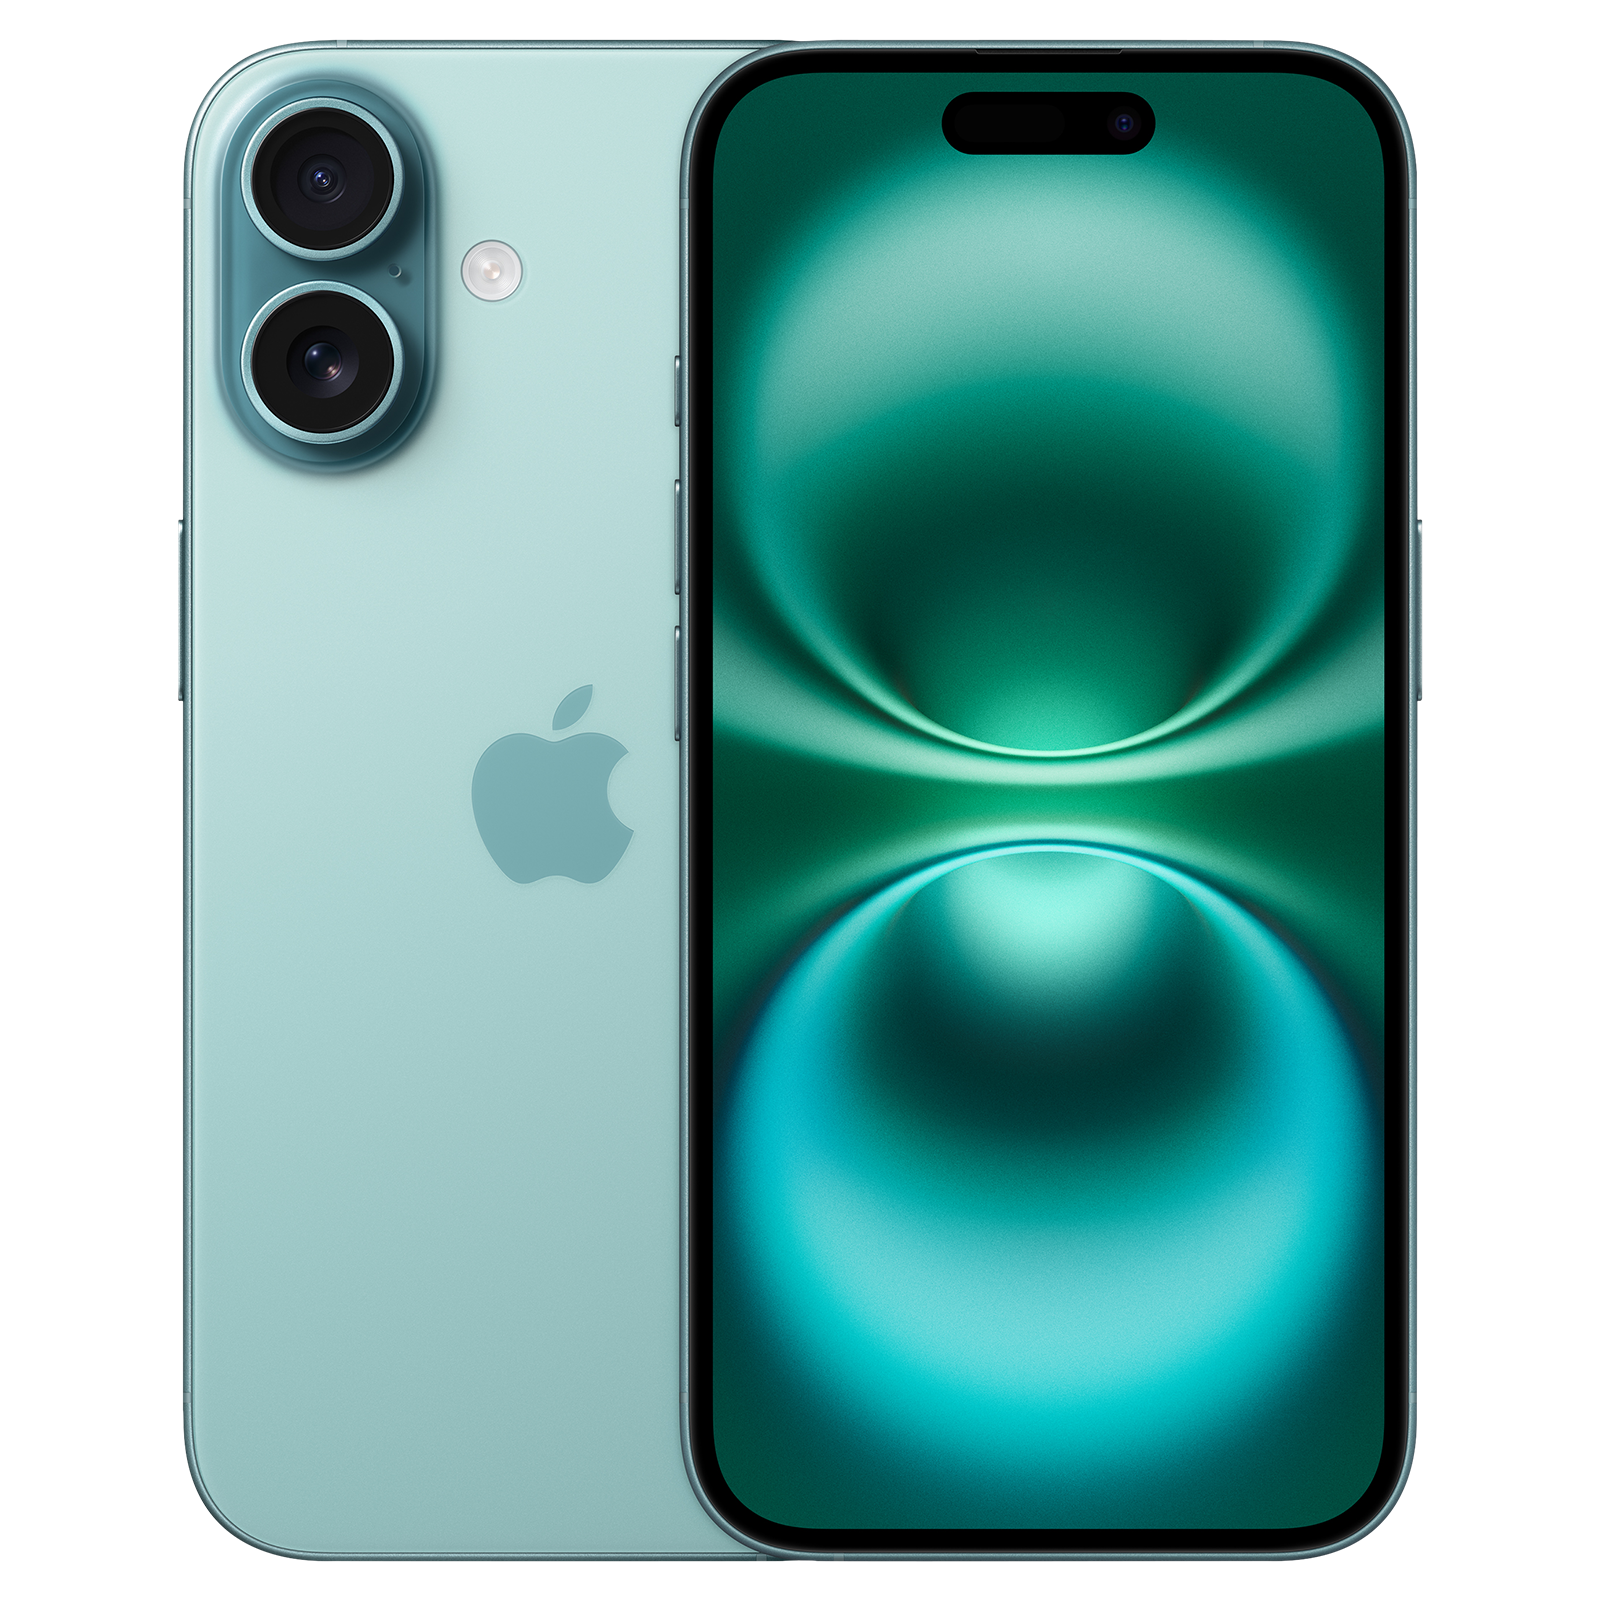
The recent iOS 18 update brought along a ton of new and impressive features to the iPhones, including the option to schedule messages for later. With the new message scheduling feature, you can write your message, pick a time, and let your iPhone handle the rest. No more worrying about sending a text at the wrong moment.
For example, you can draft a birthday message and set it to go out right at midnight. Or, if you’re trying to keep your work-life balance in check, you can schedule work emails to send during office hours, so you can relax in the evening without being interrupted by notifications. So to make the most of this handy feature, here’s how to schedule messages to send later in iOS 18.
How to schedule messages to send later on iOS 18
Sometimes it’s too late or important to risk forgetting, so scheduling a message for later is super handy. You can set up a message to send anytime in the next 14 days. To do this, you’ll need iMessage on iOS 18, iPadOS 18, macOS Sequoia, watchOS 11, visionOS 2, or newer.
ALSO READ: iOS 18: 5 things to do first after updating your iPhone
However, don’t worry as the person you’re sending the text to doesn’t need any special setup and they won’t even know it was scheduled! Just keep in mind that you need to be online if you want to reschedule, edit, or delete it later. With that out of the way, here’s how to schedule messages to send later in iOS 18:
1. Open the Messages app on your iPhone
Once you’re in, pick the conversation where you want to send your scheduled message.
2. Tap send later and set your time
This option will pop up after you tap the + icon, which brings up extra message options. After pressing the + icon, you’ll see a time scheduler where you can pick exactly when the message should go out. After you choose the time, the text field will show a dashed line, and the time you picked will appear above your message.
3. Write your message and tap ‘Send’
Once you do that, your message is all set and ready to go. The dashed line will stay there until it’s time for your message to be sent. Even if your devices are offline, the message will still go through when it’s scheduled to.
How to edit a scheduled message on iOS 18
If you realise you need to change the content of a scheduled message, you can still edit it anytime before the text is delivered. To edit a scheduled message, start by opening the Messages app and locating the conversation with your scheduled message.
Once you’ve found the message, press and hold on the message bubble. This will bring up a menu with different options, and you’ll want to tap “Edit”. Now you can make any necessary changes to the message text. When you’re happy with your edits, tap “Send” to confirm the updated message. If you decide you’d rather not make any changes after all, simply tap “Revert”, and the message will return to its original state.
How to reschedule a message on iOS 18
If you need to adjust the send time after scheduling the message, you can reschedule it as long as it hasn’t been sent. To do this, open the Messages app and navigate to the conversation with the scheduled message. Once you find the scheduled message, you’ll notice the scheduled time listed above it.
ALSO READ: 18 cool iOS 18 tips to help you get the most out of your iPhone
Tap the Edit option next to this time. When editing, you have two options. First, if you just want to reschedule, tap “Edit Time”, select a new time, and then tap outside the scheduler to confirm your choice. On the other hand, if you’d prefer to send the message immediately, you can simply tap “Send Message” and it will be delivered right away.
How to delete a scheduled message on iOS 18
If you no longer want a scheduled message to be sent, you can easily delete it before it’s delivered. To delete a scheduled message in iOS 18, open the Messages app and go to the conversation with the scheduled message you wish to cancel. Once you’ve found the message, tap and hold on it to bring up the menu. From here, tap Delete, and the message will be canceled. It won’t be delivered to the recipient, and it will be removed from your conversation as if it was never scheduled in the first place.
Now that you know everything about scheduled messages, go ahead and use the feature.
Unleash your inner geek with Croma Unboxed
Subscribe now to stay ahead with the latest articles and updates
You are almost there
Enter your details to subscribe

Happiness unboxed!
Thank you for subscribing to our blog.
Disclaimer: This post as well as the layout and design on this website are protected under Indian intellectual property laws, including the Copyright Act, 1957 and the Trade Marks Act, 1999 and is the property of Infiniti Retail Limited (Croma). Using, copying (in full or in part), adapting or altering this post or any other material from Croma’s website is expressly prohibited without prior written permission from Croma. For permission to use the content on the Croma’s website, please connect on contactunboxed@croma.com
- Related articles
- Popular articles


Shubhendu Vatsa
Comments