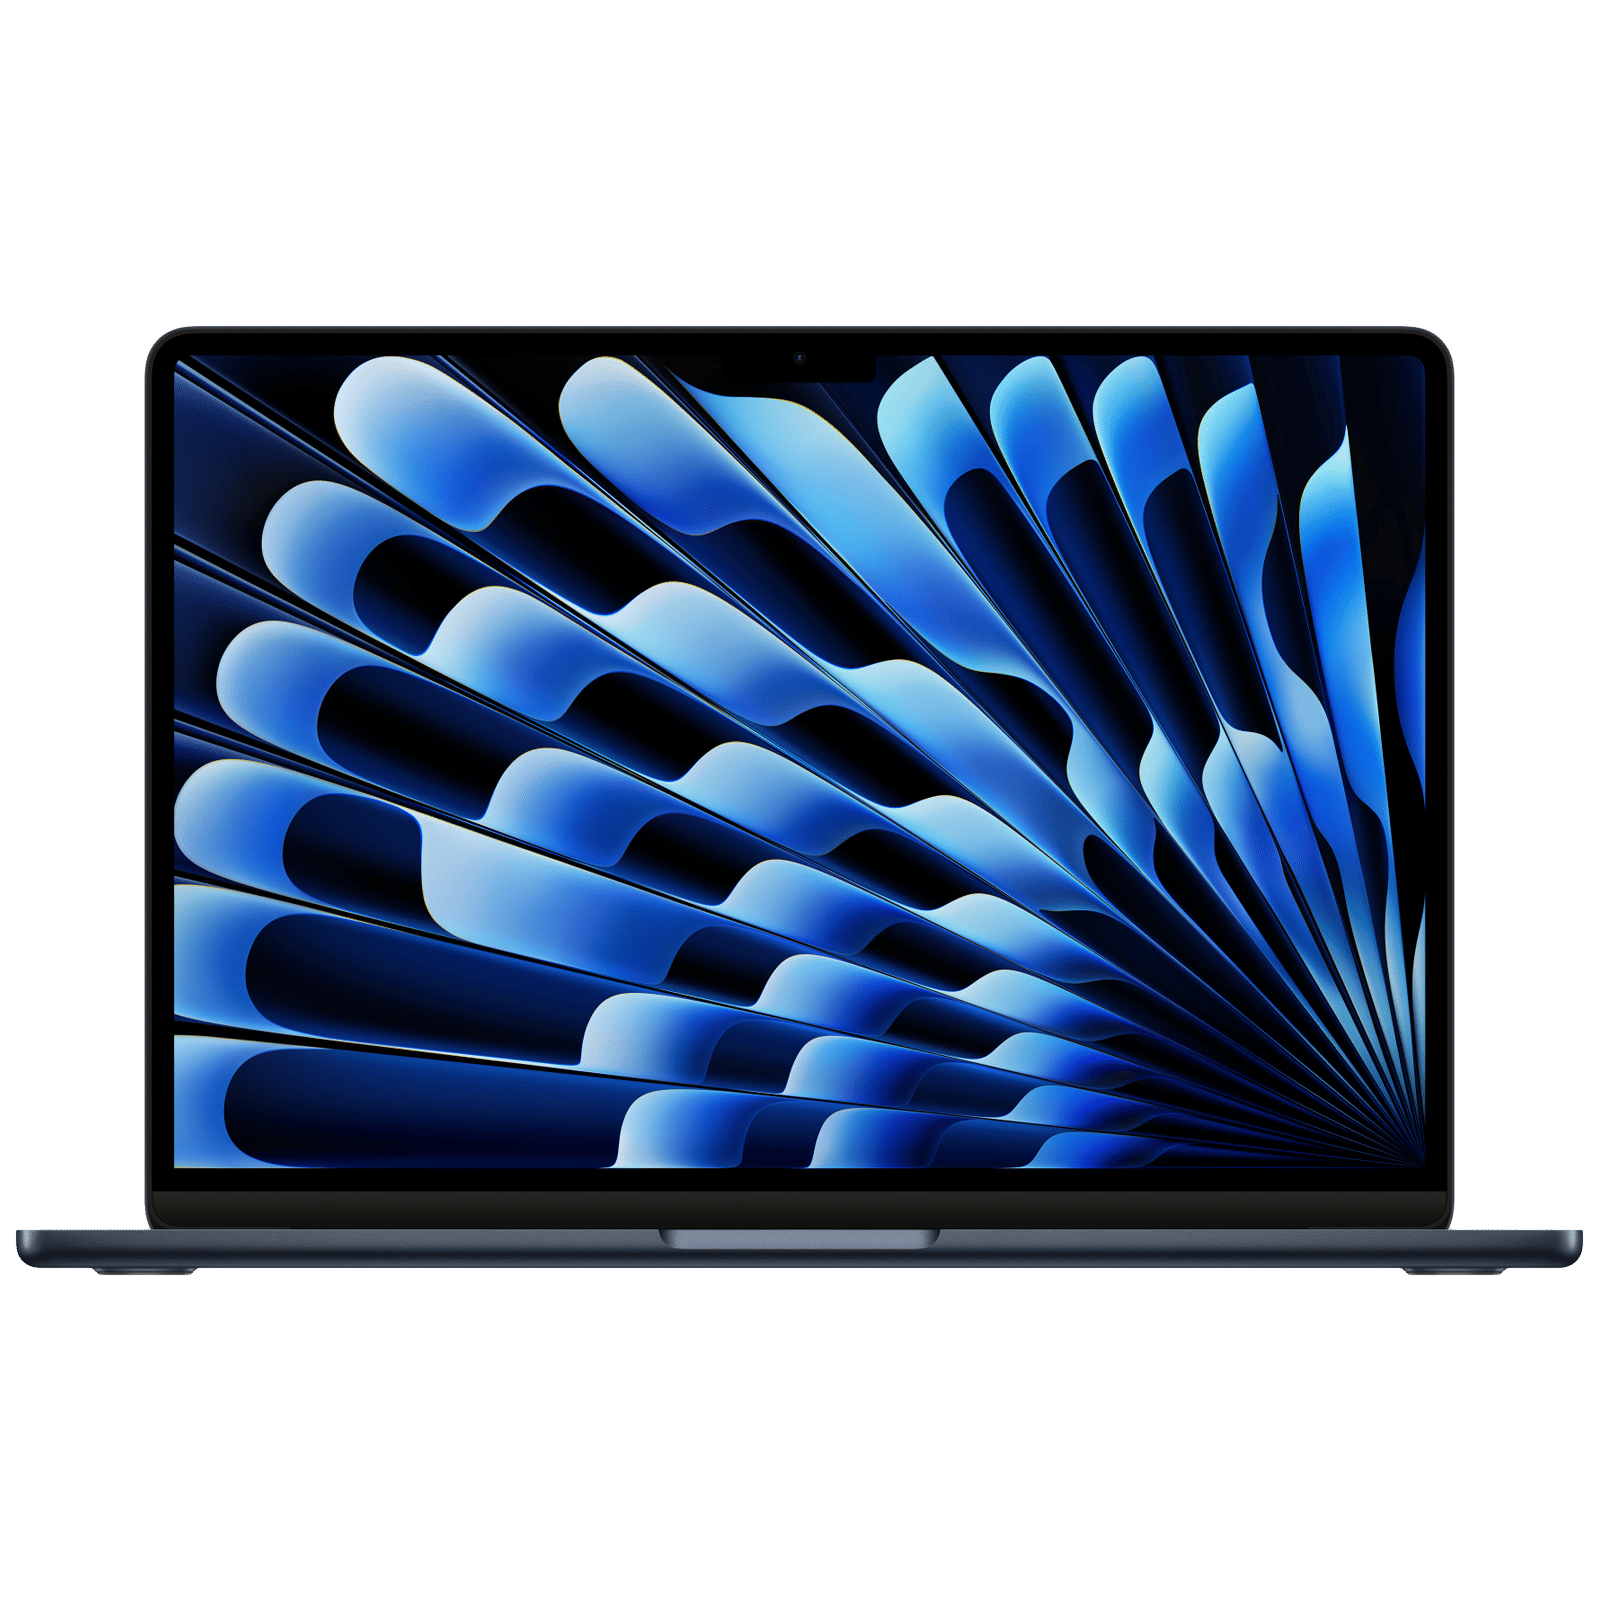
Setting up dual monitors on your Mac can completely change the way you work. If you’re tired of constantly switching between windows or feel like you need more screen space to get things done, a dual monitor setup allows you to spread out your work, reduce distractions, and keep everything at your fingertips. So, if you’re ready to boost your productivity and get more done with your Mac, here’s how to set up dual monitors.
How to set up dual monitors on a Mac
Setting up dual monitors on your Mac can dramatically boost your productivity by giving you more screen real estate. Whether you’re working with multiple apps or need more space to organise your tasks, a second monitor can make a big difference.
Here’s how to get your Mac connected to a second display quickly and easily:
1. Connect your second monitor
Start by connecting your second monitor to your Mac using an HDMI cable. If your Mac doesn’t have an HDMI port, simply use a USB-C to HDMI adapter.
ALSO READ: Best 4K monitors to buy in India in 2024
Once everything is connected, your Mac should automatically detect the second screen. If the monitor doesn’t turn on right away, check that it’s powered on and ensure the connection is secure.
2. Go to System Preferences
Next, click on the Apple logo in the top-left corner of your screen and select System Preferences (or System Settings for macOS 13 and later).
3. Configure your displays
In System Preferences (or System Settings), locate and click on Displays. This will show all the monitors connected to your Mac. You should see both your Mac’s display and the second monitor. Make sure your Mac’s screen is set as the main display.
4. Position your displays
Next, click on the Arrangement tab to arrange your monitors. You’ll see icons representing both screens. Simply click and drag these icons to match how your monitors are physically placed on your desk. For instance, if your second monitor is positioned on the left, drag its icon to the left. If you don’t want the same content on both screens, ensure Mirror Displays is unchecked.
5. Adjust the display settings
Now that your monitors are positioned, adjust the resolution settings by selecting the Display tab.
ALSO READ: The best monitors for 2024
Choose the native resolution for your second monitor for the clearest and sharpest display. If something looks off, like a stretched or blurry display, try adjusting the resolution options until everything looks right. You can also click Scaled for other options if needed, but the default should work well for most setups.
Setting up dual monitors on Mac wirelessly
If you’re using macOS Ventura or a later version, connecting a wireless display is an option. This is great if you want to use an iPad, Apple TV, or another compatible device as a second screen. To do this, go to System Settings > Displays, click the + (Plus) button, and select the device you want to connect. Once connected, you can adjust its position and settings just like a wired monitor.
Unleash your inner geek with Croma Unboxed
Subscribe now to stay ahead with the latest articles and updates
You are almost there
Enter your details to subscribe

Happiness unboxed!
Thank you for subscribing to our blog.
Disclaimer: This post as well as the layout and design on this website are protected under Indian intellectual property laws, including the Copyright Act, 1957 and the Trade Marks Act, 1999 and is the property of Infiniti Retail Limited (Croma). Using, copying (in full or in part), adapting or altering this post or any other material from Croma’s website is expressly prohibited without prior written permission from Croma. For permission to use the content on the Croma’s website, please connect on contactunboxed@croma.com
- Related articles
- Popular articles


Shubhendu Vatsa
Comments