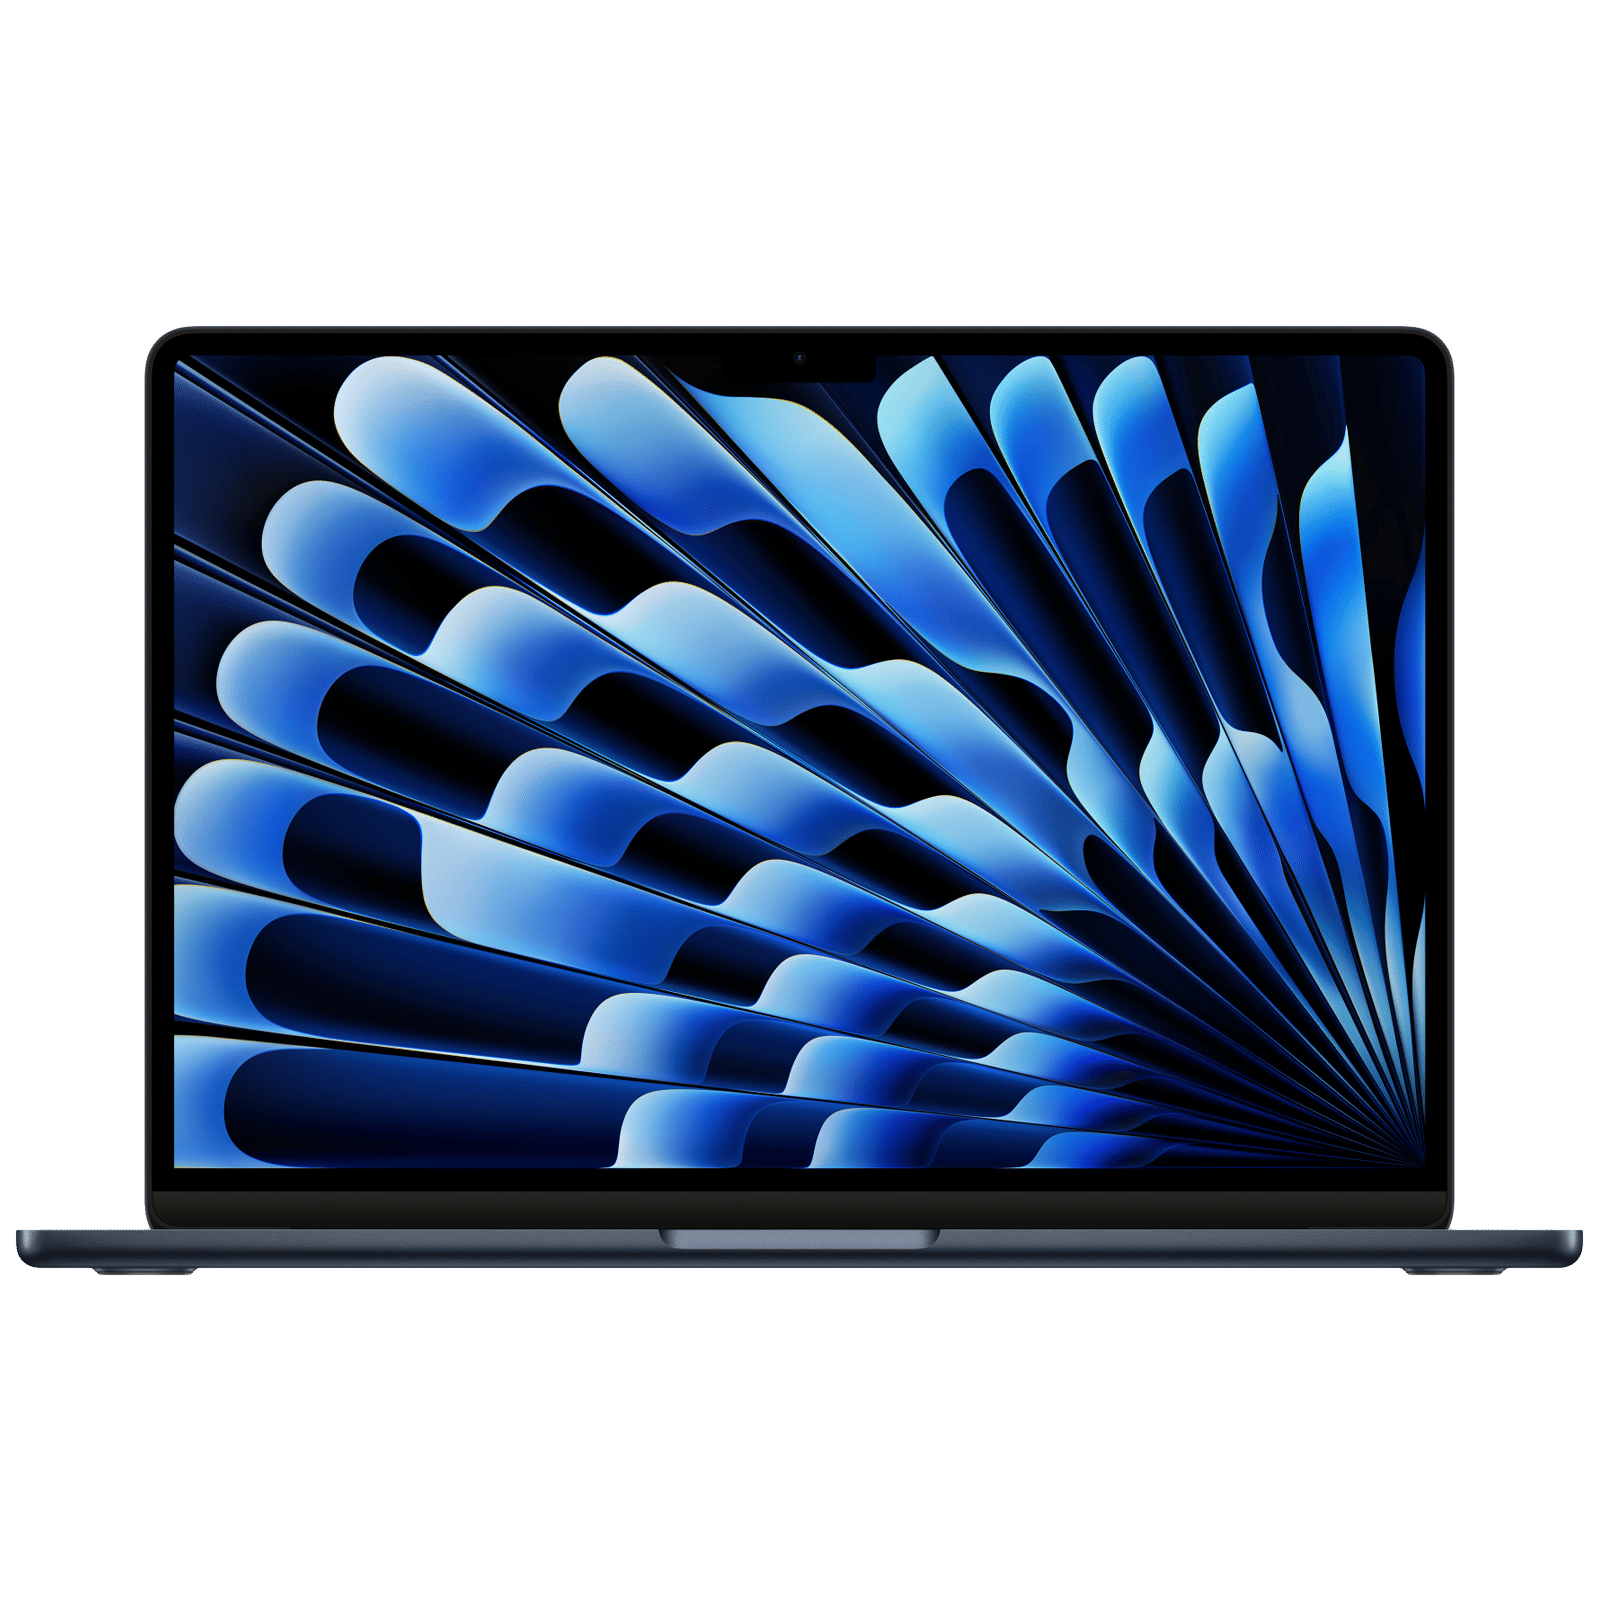
Starting out with a new Mac or Macbook can be a bit challenging, especially if you’re used to Windows. macOS (also called Mac OS) is different in a lot of ways, but it’s known for being super user-friendly and packed with powerful features. Unlike Windows, macOS is built on a Unix foundation, which makes it more stable and secure. Furthermore, it comes with a bunch of built-in apps that work seamlessly together, making it easy to find your way around.
ALSO READ: How to tell if your MacBook is ‘too old’ and how to recycle it
Since macOS is part of the Apple ecosystem, it also plays nicely with other Apple devices like iPhones, iPads and others. You can easily transfer files, share content, and even use your Mac as a second display. So to help you get the most out of your new Mac, here’s the ultimate Mac user guide to getting started with it.
Unboxing and physical setup
First things first, let’s get your Mac unboxed and set up in a cosy workspace to learn how to use a Mac to its best ability. Make sure you have everything you need: plug in your Mac to a power source or if you’ve got a MacBook, don’t forget to connect the charger.
ALSO READ: Is your MacBook overheating? Reasons why it might be happening
If you’re using a desktop setup, connect your keyboard and mouse via USB or Bluetooth. Once everything is in place, you’re ready to power on your Mac!
Powering on and initial setup
Go ahead and hit the power button and you’ll see your Mac light up with the Apple logo and a progress bar. You’ll then be greeted by a series of setup prompts. First, select your preferred language from the list. Next, connect to Wi-Fi by choosing your network and entering the password. If you’re moving from another Mac or a Windows PC, this is where you can use the Migration Assistant to transfer your files and settings smoothly.
When prompted, sign in with your Apple ID to access all your apps and services. If you don’t have one, don’t worry; you can create it during the setup. You’ll also get the option to enable Siri, Apple’s virtual assistant, which can help you with tasks and provide information as you get familiar with your new system. Finally, create your user account by setting up a name and password, which you’ll need to log in later.
Customise your Mac
Now that your Mac is up and running, it’s time to personalise it! Start by clicking on the Apple logo in the top left corner and selecting “System Preferences.” This is your hub for customisation. Here, you can tweak the display settings, adjust brightness and resolution to suit your preference.
ALSO READ: Which MacBook is best for students?
If you want to make navigating easier, go into the trackpad settings to set up gestures that work best for you. Next, let’s talk about the Dock, which is the row of icons at the bottom of your screen. You can customise it by adding, removing, or rearranging applications. To remove an app, right-click on it and select “Remove from Dock.”
ALSO READ: How to start your MacBook in safe mode
You can also drag new apps from your Applications folder right into the Dock for quick access. Lastly, take some time to personalise your desktop by right-clicking on the background and choosing “Change Desktop Background” to select a picture you love from the built-in images or upload your own.
Essential apps to install
While your Mac comes with some great built-in applications, consider adding a few more to enhance your productivity. If you prefer a different browsing experience, install Chrome or Firefox alongside Safari. For office tasks, you might want Microsoft Office or Apple’s iWork suite, which includes Pages, Numbers, and Keynote. If you’re into design or editing, you’ll want to install Adobe Creative Cloud and messaging apps like Slack or Microsoft Teams for collaboration.
Backup your data
Setting up a backup system is important. You can use Time Machine, Apple’s built-in backup feature, to ensure your files are safe. To do this, plug in an external hard drive when prompted and select it as your backup disk. Then, head to System Preferences > Time Machine and toggle it on. Your Mac will automatically backup your data every hour, day, and week, giving you peace of mind.
Final touches and tips
Before you wrap things up, it’s a good idea to keep your software updated. Check for updates regularly by going to System Preferences > Software Update. This way, you’ll have the latest features and security fixes. Also, take a moment to familiarise yourself with common keyboard shortcuts like Command + C for copy and Command + V for paste as these will save you a ton of time.
And you are good to go! You will learn a lot of new and fun things over time as you explore your Mac further.
Unleash your inner geek with Croma Unboxed
Subscribe now to stay ahead with the latest articles and updates
You are almost there
Enter your details to subscribe

Happiness unboxed!
Thank you for subscribing to our blog.
Disclaimer: This post as well as the layout and design on this website are protected under Indian intellectual property laws, including the Copyright Act, 1957 and the Trade Marks Act, 1999 and is the property of Infiniti Retail Limited (Croma). Using, copying (in full or in part), adapting or altering this post or any other material from Croma’s website is expressly prohibited without prior written permission from Croma. For permission to use the content on the Croma’s website, please connect on contactunboxed@croma.com
- Related articles
- Popular articles


Shubhendu Vatsa
Comments