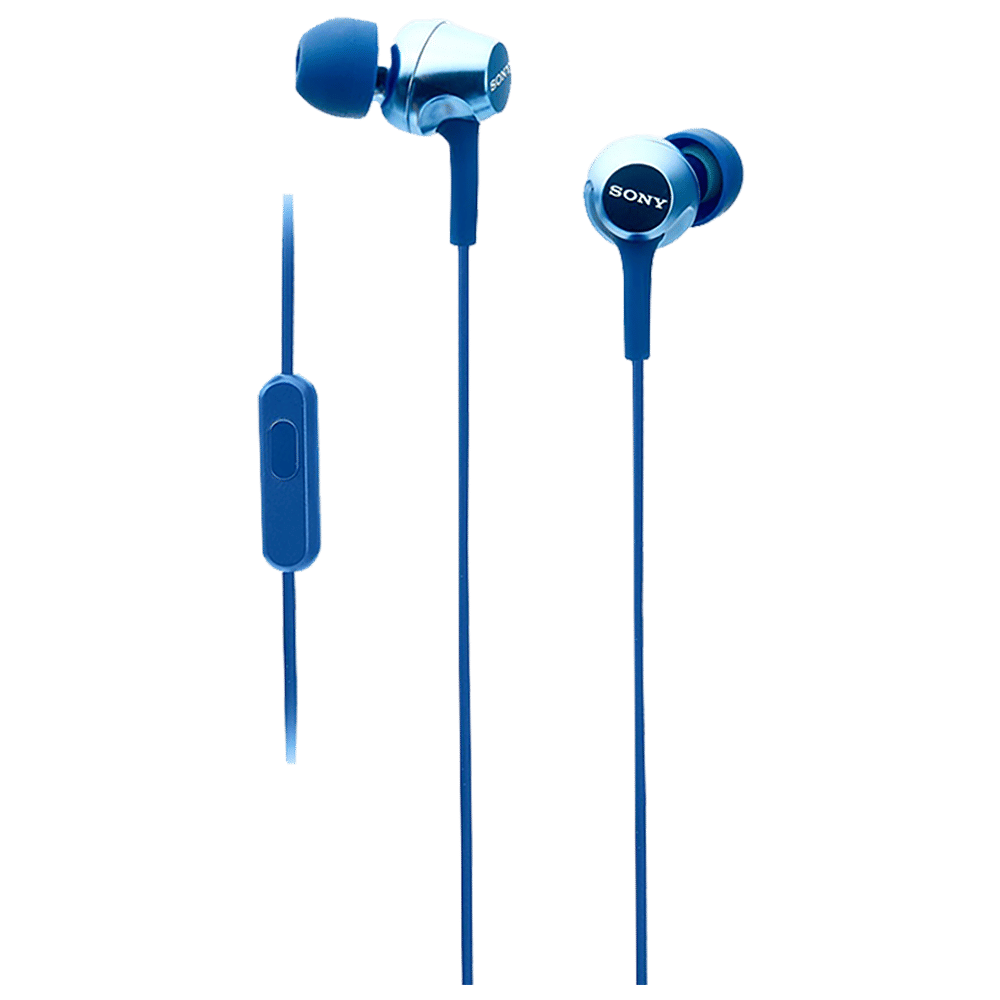
Let’s face the truth, the conventional comfort of a PC with wired earphones still holds a special place in our hearts. They offer a reliable and hassle-free way to enjoy our audio without worrying about battery life or connectivity issues. But do you regret not having a laptop sometimes just because your PC doesn’t have a 3.5mm audio port? Fear not! We tell you how to connect a pair of wired earphones to a desktop computer.
How to connect wired earphones to PC
Follow these steps below to connect your wired phones to your PC like a breeze.
1. Check your sound card
First things first. The first thing that comes on your checklist is whether your PC has a sound card. While the latest PCs come with in-built soundcards integrated with their motherboard, it might be missing on an older setup. A soundcard is an indispensable component that is responsible for generating and recording audio.
ALSO READ: How to choose your next pair of earphones/headphones
To check whether your PC has a sound card, right-click on the Start menu, and select “Device Manager”. Find out the “Sound, video and game controllers” option, and expand it to see your sound card listed there.
2. Connect your wired earphones
If your wired earphone has a USB output, connect the cable to the USB port. On the other hand, if you are using a wired earphone with a single 3.5mm audio jack, you will need an audio splitter.

An audio splitter features one 3.5 mm female and two 3.5 mm male connectors, enabling you to connect a 4-position headset with audio and microphone input to your PC. Plug the two male connectors at the back or front panel of your CPU and plug your earphone with the female connector.
3. Adjust your audio settings
Once you have connected your wired earphones, audio settings will automatically pop up on your screen. If it doesn’t, go to the Start menu and search for the “Sound Settings” option. Select the name of your device for sound output and input from the “Choose your output device” and “Choose your input device” dropdown menus. Once you have selected the device, adjust the volume level and other audio settings. You can also adjust the sound balance between the right and left channels from the “Device properties” option.
4. Test your earphones
To test whether your microphones are properly working or not, go to “Sound Settings” from the Start menu and test your mic from the “Test your microphone” option under the “Device Properties”. If you are unable to hear any audio, you may need to adjust the audio settings or your earphone connection.
5. Troubleshooting
Follow these steps to fix your troubleshooting if the mic test didn’t yield any fruitful results. Firstly, check the connection between your earphone and your computer. Make sure the male and female connectors are plugged in correctly. If the connections are fine, go back to the Audio Settings and check whether the earphones are selected as the “Default audio device”.
The third and final step is to check whether the sound card driver is working properly. If it malfunctions, uninstall and reinstall it to fix the troubleshoot.
Now that you have the key to connect your wired earphones to your PC, enjoy an uninterrupted, immersive audio journey.
Unleash your inner geek with Croma Unboxed
Subscribe now to stay ahead with the latest articles and updates
You are almost there
Enter your details to subscribe

Happiness unboxed!
Thank you for subscribing to our blog.
Disclaimer: This post as well as the layout and design on this website are protected under Indian intellectual property laws, including the Copyright Act, 1957 and the Trade Marks Act, 1999 and is the property of Infiniti Retail Limited (Croma). Using, copying (in full or in part), adapting or altering this post or any other material from Croma’s website is expressly prohibited without prior written permission from Croma. For permission to use the content on the Croma’s website, please connect on contactunboxed@croma.com
- Related articles
- Popular articles


Oindrila Paul
Comments